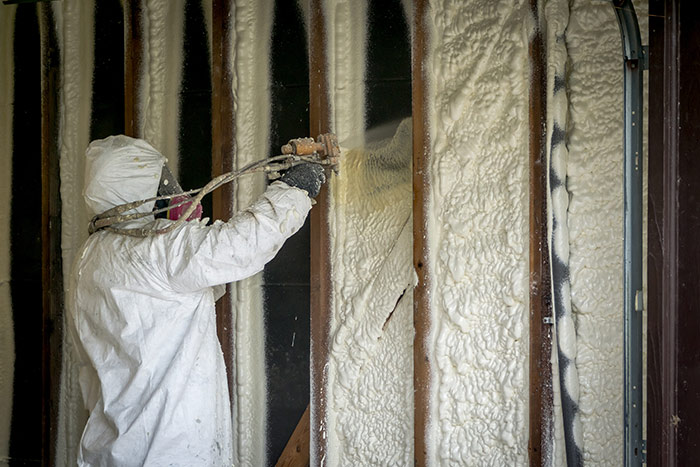
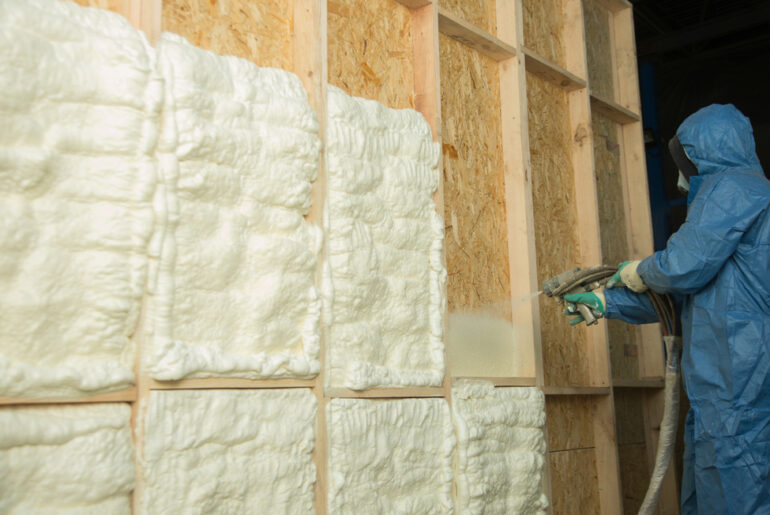
Since spray foam insulation is a highly efficient insulating substance that may help keep you warm and comfortable, many people decide to install it in their homes.
But if your insulation needs updating, you may wonder if spray foam insulation can be removed. The short answer is yes, but it is a bit more complicated getting out than it was getting it in.
It’s critical to realize that this process might be labor- and time-intensive. In the long run, though, doing so can improve your home’s cost and energy efficiency.
When Should I Remove Old Foam Spray Insulation?
There are a few reasons to consider removing and replacing your home’s insulation, especially if it is spray foam:
You Have Air Leaks
Spray foam insulation is frequently employed as a good air barrier in difficult-to-reach spots in your attic. Unfortunately, sealing things up can only be fully accomplished if you have access to all of the places where air leaks are most likely to happen. However, you should anticipate ongoing difficulties if your spray foam insulation was installed over pre-existing insulation. To establish whether the attic insulation needs to be removed, it is a good idea to have a comprehensive attic inspection done by a specialist.
You Have Odors
One unfortunate aspect of spray foam insulation is that it can absorb and hold on to unfavorable scents, leading to an issue with air quality and chronic odor. The stench of dust, grime, rat droppings, and other cleaning agents that have previously been used to clean your attic can be retained by spray foam. Frequently, the only method to completely get rid of these unpleasant odors in your home is to remove the foam itself.
You Have Moisture Issues
Your attic’s insulation may absorb an unsafe quantity of moisture if the air within is more humid than outside, and you should anticipate dealing with frequent moisture problems if your old spray foam is affected by the humidity. Infestations of mildew and mold can be caused by the moisture retained in the foam. The best course of action is to thoroughly remove the spray foam insulation from the attic.
Is Removing Open Spray Foam Different From Closed Spray Foam?
Spray foam insulation is made in two varieties: open cell foam and closed cell foam. They each have unique advantages and disadvantages. Therefore one is not always superior to the other.
Open cell foam consists of unencapsulated cells. Or, to put it another way, the cells are purposefully left open. As a result, the foam becomes softer and more malleable.
As the name implies, closed cell foam is made up of entirely closed cells. Because the cells are pushed together, air and moisture cannot enter the foam. As a result, closed cell foam is significantly more stable and rigid than open cell foam.
The following removal methods should help you remove both open and closed foam insulation.
How to Remove Spray Foam: Options
Option 1. Manual Removal
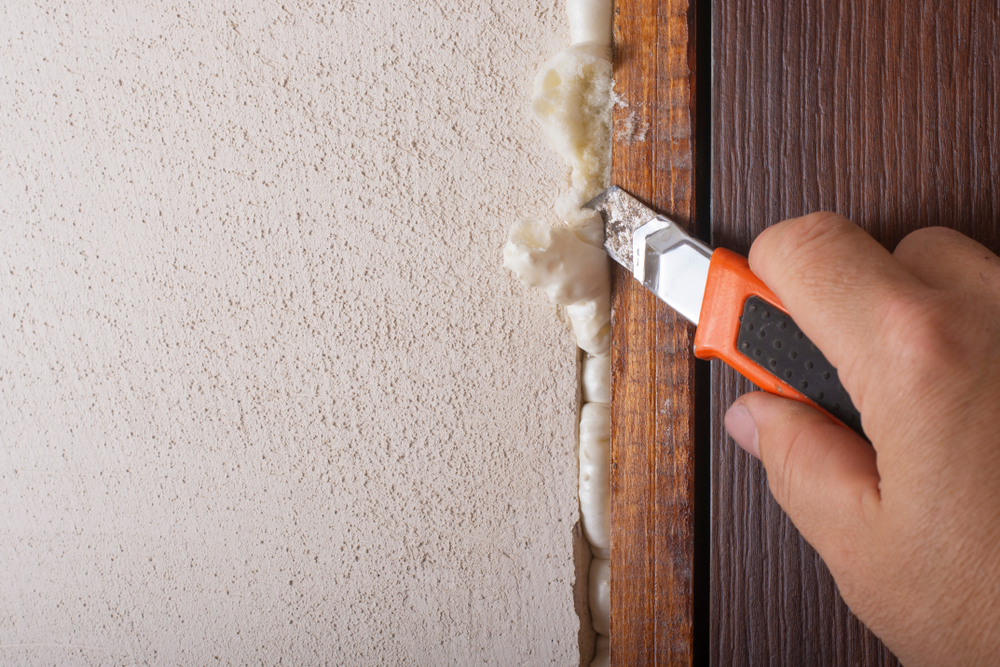
Using spray foam to fill gaps in your insulation around door frames and windows can save money on your utility bills. Unfortunately, it has a pesky habit of ending up somewhere you don’t want it to. When a minor error occurs, it’s typically possible to fix it by hand.
Pro Tip: Never use heat as a method for removing foam insulation as it can cause toxins to be released into the air.
The tools you will need to manually remove spray foam insulation include:
- Mask
- Knife or saw
- Chisel and hammer
- Hard-bristled brush or paint scraper
- Lacquer thinner or acetone
Step 1. Don a Mask
Chemically speaking, spray foam is pretty toxic stuff. Isocyanate and polyol resin are both present, and the reaction between the two chemicals causes them to expand in a way that prevents air from penetrating the interior foam, forming a temperature barrier. They eventually become a solid residue that offers continuous defense against heat loss.
The chemicals are safe as long as you don’t bother them. Wearing a face mask is crucial because when you physically remove the foam, small particles may enter the environment and make their way to your lungs.
Step 2. Make Sure Its Dry
Don’t remove the insulation right away if you just applied it incorrectly. Wait for it to dry first, instead. It will be simpler to remove when it dries off.
Step 3. Cut Off Excess Foam
When the insulation has solidified, pry it away from the building material using a knife, saw, or another suitable tool. Use a hammer or chisel if you need to remove it from cavities, such as those around doors. Keep an eye out for hidden electrical lines to avoid damaging them.
Step 4. Detailed Removal
Use a hard-bristled brush or paint scraper if you need to remove extra spray foam. These tools work quickly to remove any leftover foam layers from brick, wood, or concrete — especially when used on troublesome areas like nooks and crannies.
You might occasionally need to experiment with various brush sizes to get into all the little crevices. Continue brushing carefully. If you cannot remove everything in one sitting, return to it later.
Step 5. Apply Thinner or Acetone
If you feel it is necessary, apply lacquer thinner after the majority of the spray foam has been scraped away. Once all of the larger particles have been removed, experts like to use solvents to complete the removal of insulating foam. Nail polish remover, which contains acetone, can be used instead if you don’t have any lacquer thinner on hand.
Uncured polyurethane-based foams can be dissolved using lacquer thinner or acetone, but please note that cured foams cannot be removed using nail polish remover or lacquer thinner.
Option #2. Machine Removal
You are correct if you think manually removing foam sounds like a lot of work! If you have more than a tiny mistake to contend with, you’ll likely want an easier way to get the job done. Fortunately, there is a mechanical removal method available that can complete the task for you, saving you a ton of time.
Step 1. Don a Mask
The same risks apply to machine removal as manual, and you should protect yourself with a mask before starting the process.
Step 2. Machine Set-up
Once you have donned your PPE, set up your spray foam removal machine so that it is ready to remove the problematic insulation. (Your particular device may have specific instructions to follow, so be sure to read the manual entirely before beginning the process.)
Vacuums for spray foam are substantial (because of the power they need to generate). Moving them into other locations, including attics, may not be practical. Thankfully, most have extensive hose systems allowing you to move them precisely where you need them by running through a building like a giant vacuum cleaner.
After connecting the hose to the central unit and attaching the vacuum bag to the unit, move it to the required location.
Step 3. Vacuum
Essentially, equipment for removing spray foam are sizable, incredibly powerful vacuums. Insulation that has been put incorrectly or damaged typically requires time-consuming removal. However, the process is significantly sped up by these pieces of equipment. Removing moldy or damaged insulation from a home takes a few minutes instead of several hours.
Despite their strength, these vacuum systems may not be able to remove all of the dried-on foam from your building materials. In order to remove problematic leftover foam from the walls, use the manual scrapping technique outlined above.
Step 4. Finish with Lacquer Remover
As in the manual method, apply the lacquer thinner or acetone to any remaining spray foam, and you’re done.
Option #3: Dry Ice Blasting
Spray foam insulation can be removed from roof tiles and wood using the dry ice blasting technique. With no pitting or damage to any fixed tiles, dry ice blasting removes foam with no secondary waste left behind. In addition to eliminating contaminants through thermal shock, it removes spray foam insulation in large chunks instead of the smaller pieces removed during the conventional method of scraping.
Dry ice blasting can be a quicker and more efficient way to remove spray foam insulation than other techniques. However, it is not a DIY project, and you would need to hire a contractor to complete the process.
When To Remove Spray Foam Insulation in Attics
You’re Using The Wrong Type of Spray Foam
Even with varying weather outside, spray foam insulation can help maintain your attic’s temperature and keep your home comfortable. But choosing the wrong type of foam insulation for your attic can lead to a hot mess! Insulation made of closed-cell foam traps heat and doesn’t allow for much airflow.
A well-insulated home requires airflow above and below the foam, but excess heat can be retained by closed-cell foam, making your HVAC system work harder to maintain temperatures. The extra strain on your HVAC happens because the closed foam insulation keeps heat from dissipating as it should, particularly in attics. The attic has high summer temperatures due to its proximity to the roof.
Attics that are overheated expand, which compromises the roof’s structural stability. It only takes a short while before your roof sustains damage to the shingles due to the continual expansion and contraction.
Possible Roof Damage
Another issue that may require the removal of attic spray foam insulation is the possibility of roof damage.
Attic heat buildup can cause roof damage. But did you also know that spray foam insulation might cause the roof’s wood to rot? Even when the insulation is adequate, it is still a possibility.
Rainwater can seep in if your roof previously suffered damage, and the spray foam insulation traps the water, preventing it from evaporating.
Heat causes the condensed water to be forced into the wood truss as the insulation continues to absorb additional moisture. The wood truss and rafter become saturated with condensate over time leading to rot and roof damage.
Tips For Removing Spray Foam Insulation From Crawl Space
One of the biggest reasons spray foam needs to be removed from a crawl space is mold growth. If the contractor hired to install your spray foam insulation does not do the job properly, it can lead to non-adhesion or improper encapsulation. The problem generally stems from either using bad chemicals or improperly mixing the chemicals.
The poor installation can leave gaps or cavities where water can accumulate, allowing for unfettered mold or mildew growth. (Some unethical contractors may even apply spray foam over existing mold or mildew!)
If you are concerned about mold or mildew in your crawl space, use extra caution when removing the insulation, and be sure to wear proper PPE, including gloves and respiratory protection.
How To Remove Spray Foam From Painted Surface
Spray foam insulation frequently overlaps and adheres onto nearby painted surfaces where it shouldn’t since it grows to hundreds of times its original size after application.
Even the pros have trouble keeping spray foam contained during the application, and removing it might harm the underlying paint. Consider a method that will give you the best chance of removing the undesired foam without hurting the same surface you are attempting to rescue.
- Using proper PPE to protect yourself, gloves and mask are recommended
- Carefully trim away as much excess foam as possible using a razer blade
- Soak a rag with mineral spirits
- Using a circular motion, wipe away the offending spray foam
- Immediately dry the mineral spirits from the painted surface


