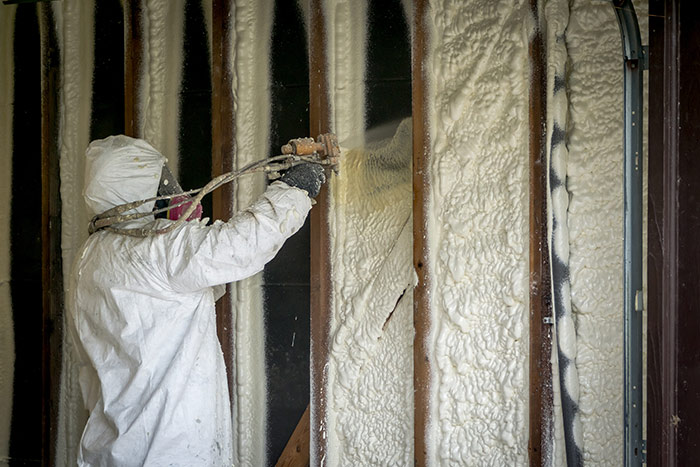
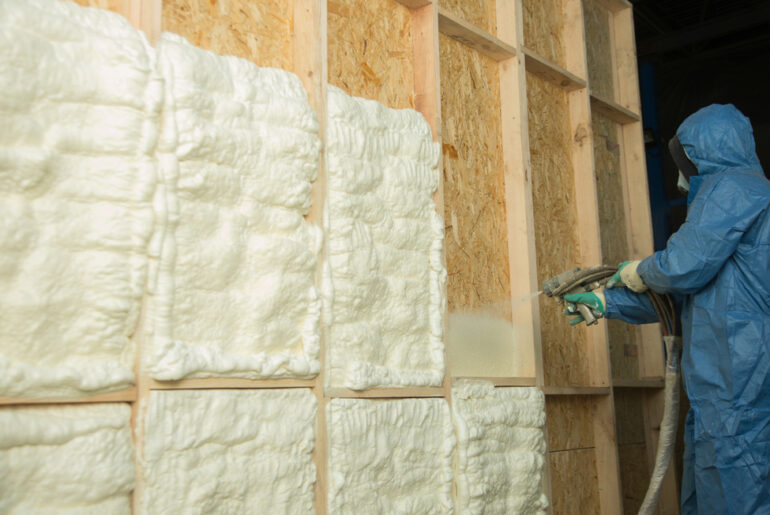
Spray foam insulation is a popular product and a great way to achieve the R-values demanded by stringent code requirements. So how do you make the most of your investment?
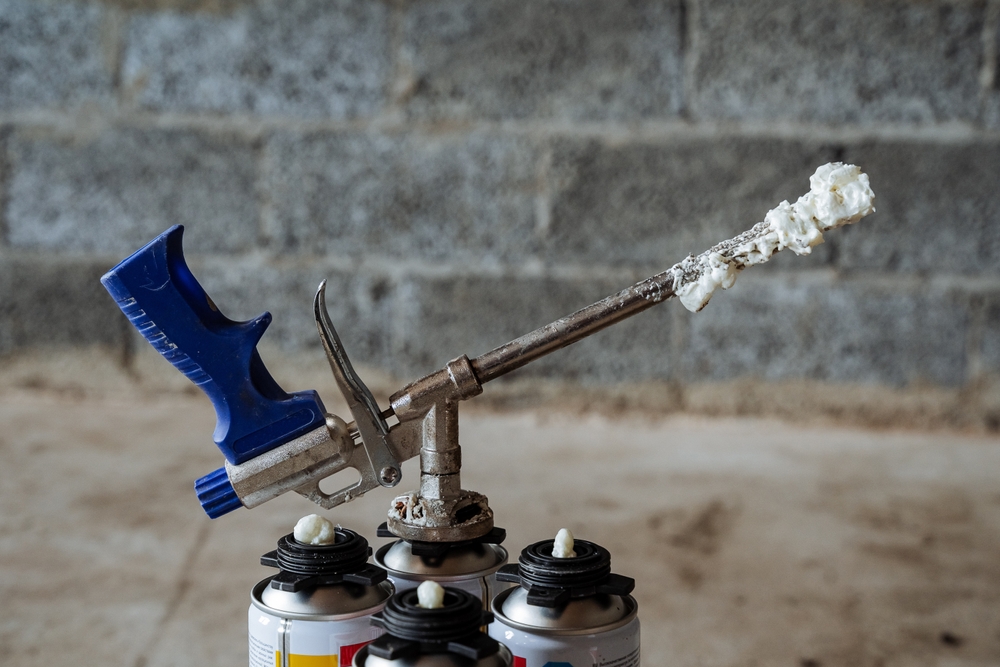
Maintaining spray foam equipment such as the gun used to deliver the material is key to delivering great results for yourself or your clients. Clogging, damaged, and blocked nozzles can be frustrating. So how can you guard against this happening?
We have collected pro tips from some of the leading installers of spray foam insulation from right across the industry, designed to make your installs go better every single time.
Cleaning Your Spray Foam Gun
Taking care of the business end of a spray foam insulation job is the smartest thing any installer can do. Keeping your spray foam gun equipment in perfect condition, clean and ready for use, will extend its life and ensure great results every time.
The gun is where the magic happens, and we’ll start with the easy, quick, common-sense wins.
1. Don’t let parts soak too long in solvent or your O rings will degrade, which means replacing them will come sooner rather than later.
2. Do use a plastic or brass brush to clean as a steel brush will be too hard and will likely scratch the inside of ports and other passages.
3. Do get a heavy-duty flushpot. A cheap alternative might save money in the short term, but you will probably end up replacing them more frequently.
4. Always rinse a gun out with your flushpot at the end of the day’s install, but remember, this is not a full clean.
5. Foam build-ups around the mix chamber and side seals can lead to clogging, especially if there are scratches on the chamber. Sand them out on a flat surface with 400 to 600 grit paper. Do not polish to a shine as the lubricant needs a rough surface to be able to do its job properly. Take the side seal out of the cartridge and do the same.
6. Take a cordless drill and fit a bit half as thick as the port (a quarter inch metal bit is ideal), then take a strand of steel wool and wrap it around the end, squeezing the trigger, to create a steel Q-Tip. Use this to polish the inside of the gun ports without scratching or denting or marking them. You can do this with all the ports and gun passages, ensuring the metal bit used is always half the thickness of the way being cleaned.
7. The A-Side is the isocyanate ‘glue’ side. Crystals can build up in the supply line so flushing before use at the start of the job will reduce clogging in the spray gun later, extending your gun’s useful working life and making the install go smoother. This is not a problem in the B-side or product side.
When You Are on Site
Improve your spray foam insulation install with these pro tips from across the industry.
1. Don’t forget your duct tape. Use it on the face of wall studs to keep them free of spray foam. Whether you are using open or closed cell foam, clean studs will always make the job look good.
2. Wrap a little bit of duct tape around your wrists too, to close any gaps between your gloves and your protective coveralls. This helps defend a vulnerable spot on your personal protective equipment (PPE), right behind the gun.
3. Make sure the studs and the surface receiving the spray foam are absolutely dry as any moisture could cause the spray foam to fail to adhere to the substrate. It’s always better to leave out any area which might become a problem rather than do the job twice.
4. Spray foam recipes differ from company to company. Always follow manufacturer’s instructions, never mix and always respect use-by dates!
5. Always keep your 5/16 nut driver (or equivalent) in your back pocket just in case the trigger on your spray gun gets stuck open. On a Boss gun it is the only way to close the fluid block valves!
6. If you can, follow the sun. Start with the wall that has the sun shining on it and work your way around the building. Heat management is especially crucial in colder climates. Spraying onto a cold surface can make sure the job goes badly from the off.


