
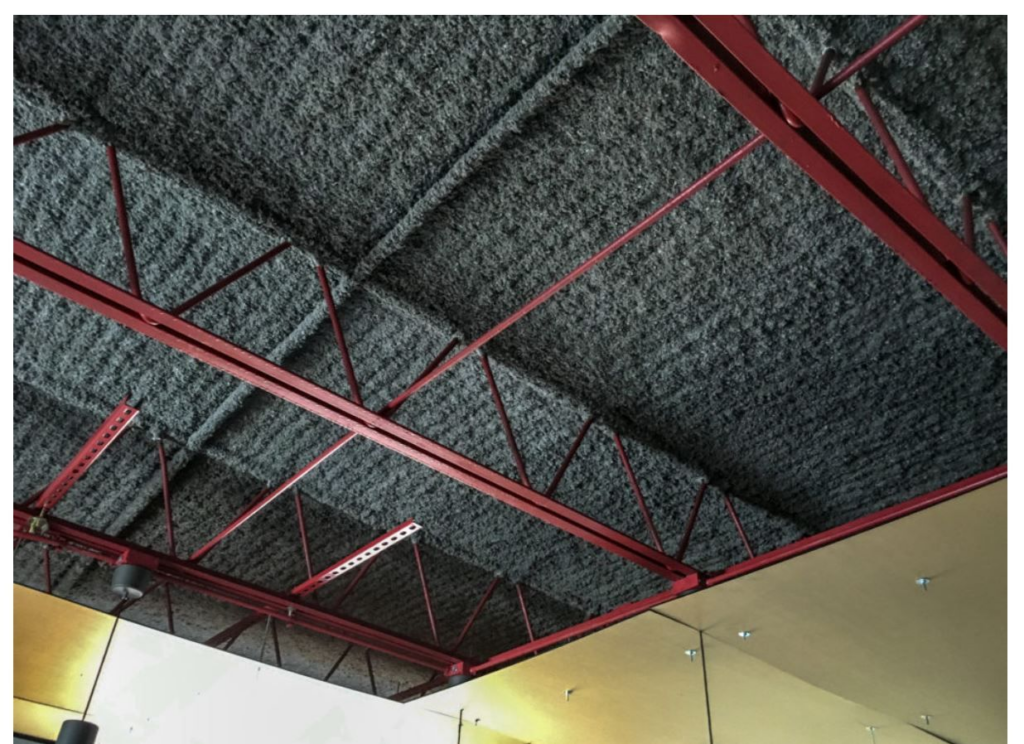
Spray foam can be left exposed, but it’s essential to take the necessary steps to make it look as good as possible since foam is a porous material. Plus, exposed foam can ruin the aesthetic appeal of a space.
By making spray foam look good, you can still enjoy the benefits of insulation without having to compromise on style. It’s also a good way to ensure the foam lasts longer and is protected against the weather.
In this guide, we discuss a few methods to make spray foam look good. You don’t have to do all of them, but they’re worth considering.
Paint the Spray Foam
The most obvious way to make spray foam look good is to paint it. Painting the exposed foam can enhance its aesthetic appeal and also provides an extra layer of protection from the elements.
Before you begin painting, sand down any imperfections on the foam and then apply a primer for a better finish, but be sure to wear PPE including a respirator. Use quality paint specifically designed for outdoor use, as this can help make the foam last longer and maintain its fresh look.
Here are the three painting methods you can use:
- Spray Paint: A spray gun is the most efficient way to paint foam if you want to cover a large surface, such as a wall. You can also use spray paint if you want to achieve a textured finish, but you’ll want to use a primer like this one first to ensure a uniform bond.
- Roller: A roller is the best way to get an even finish on the foam and is ideal for smaller areas.
- Hand Brushing: While this takes longer, it can be the best way to get into hard-to-reach areas. However, you might have uneven application if you plan to paint a large surface.
Water-based acrylics are the best option for spray foam insulation because they provide good coverage, have low VOCs (volatile organic compounds), and are easy to clean up. You can also use latex paint for its ease of application and excellent adhesion to foam insulation. Meanwhile, oil or solved-based paints can damage the insulation.
Apply a Sealant
Another option is to apply a sealant over the exposed foam. It will help waterproof the material and also provide a smoother finish.

Applying a sealant can be particularly effective if you want the foam to look neat and tidy without having to go through the hassle of painting. Here’s how to apply sealant on spray foam.
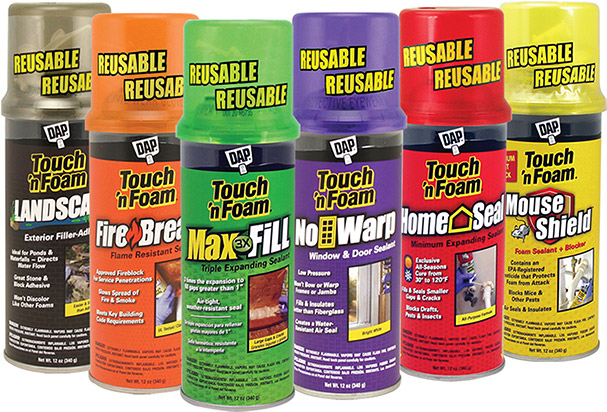
Step 1: Choose a Sealant
Choose one that is specifically designed for use on spray foam insulation and has a good longevity rating, such as acrylic latex or silicone-based sealant.
Step 2: Prepare the Surface
Clean off any dirt, dust, and debris from the spray foam before applying the sealant. Make sure the surface is dry before you begin. Don’t do this DIY project during the rainy season, as the surface can get wet, and the sealant won’t adhere properly.
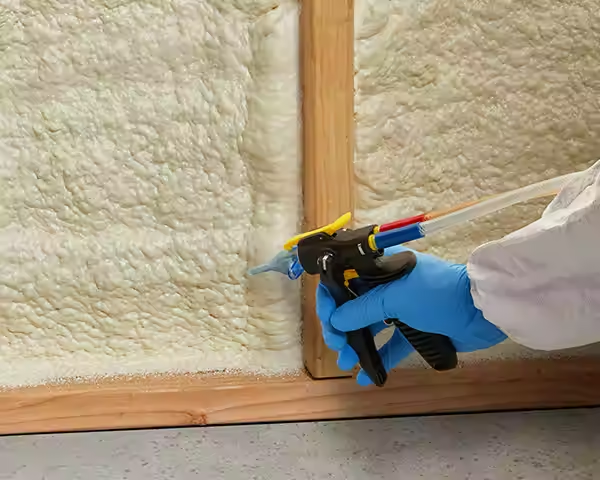
Step 3: Apply the Sealant
Use a paint brush or foam roller to apply the sealant onto the exposed foam. Make sure you evenly cover the entire surface in a thin layer. Don’t forget to wear protective gloves and eyewear while you are doing this.
You can also use a spray gun. Most pros use the same sprayer (usually an on-demand tankless Graco sprayer) they use to paint the house. these sprayers will work with latex or oil-based enamel, but clean-up can be a hassle.
Step 4: Allow the Sealant to Cure
Allow the sealant to dry completely according to the manufacturer’s instructions. It should take a few hours, but it could take up to 24 hours, depending on the type of sealant you used.
Step 5: Inspect
Inspect the foam once it has dried to make sure there are no gaps or bare spots and that the sealant has adhered properly. If all looks good, you can enjoy your newly sealed foam insulation!
Use Colored Spray Foam Insulation
The default color for spray foam insulation is yellow. But this might not go with the aesthetic of your home. Fortunately, there are other options for colored spray foam insulation available on the market.
Colored spray foam provides more options when it comes to interior design. The range of hues and shades available makes it a flexible option for all types of projects, from residential to commercial applications. It also gives you more control over the look and feel of your project.
You can find several colors, ranging from vibrant shades to subtle pastel tones. In addition, some colors come with a glossy finish that adds shine and sparkle to any project.
Yellow and black are the most common colors for spray foam insulation. But you can also find red, orange, blue, green, purple, and other shades. You can even get spray foam insulation in metallic colors.
Colored spray foam insulation lets you create a unique look for your home or office without compromising on energy efficiency. Its durability also ensures you won’t have to worry about it fading or fading over time.
Use Decorative Trim Around Edges
If you don’t want to paint spray foam or use a colored version, you can still make the insulation look good by adding decorative trim around the edges. It will give your insulation a finished look and add to its overall appeal.
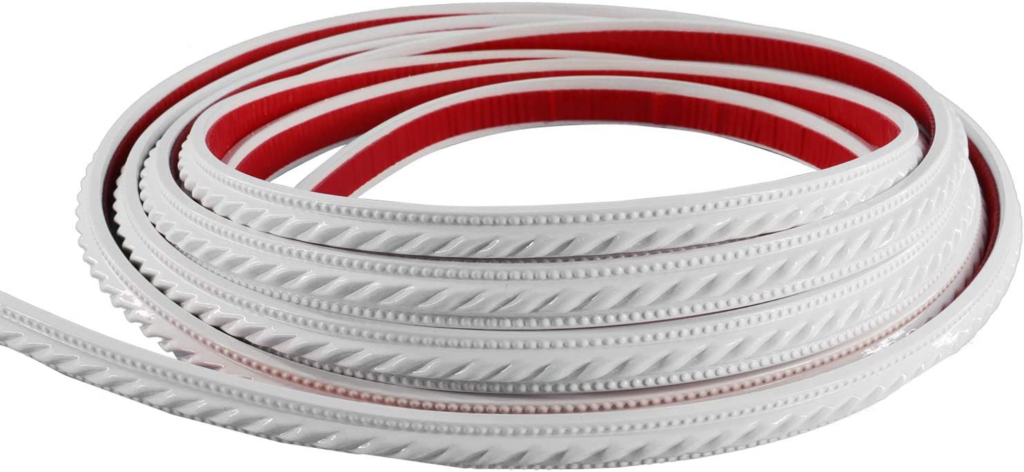
You can find decorative trim in a variety of materials, including wood and metal. For instance, you may choose a trim in the same color as your walls or ceiling to give your insulation an integrated look.
Adding decorative trim to your spray foam insulation can help protect it from damage caused by moisture or extreme temperatures. It can also be used to cover up any gaps or imperfections in the insulation, creating a more polished and professional look.
Add Artwork
If you want to give your spray foam insulation a more decorative look, why not add the artwork to it? You can use stencils and paints to create unique designs on your insulation.
Do not use nails to hang anything on a wall with spray foam insulation. However, it’s fine to hang things on a wall with spray insulation as long as the nail penetrates a stud. Ideally, use a command strip or hook.
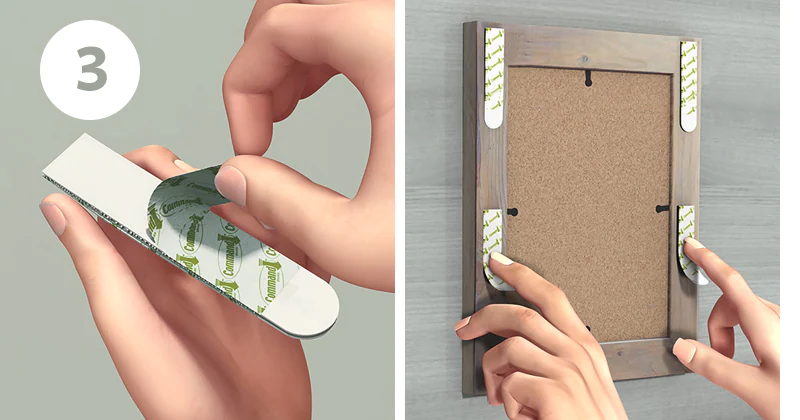
Follow these tips before putting up a frame or artwork on spray foam insulation:
- Let It Cure: Let the foam insulation cure for at least 24 hours before putting up the frame. If the insulation is still wet, it won’t be able to hold the frame securely.
- Choose the Right Frame: Choose a metal or plastic frame made of lightweight material, as these are best suited for spray foam insulation. Avoid using wooden frames, as they can easily get stained or warped due to the dampness of the spray foam.
- Secure the Frame: Secure your frame properly to the insulation before adding artwork. Use screws and anchors that are specifically designed for foam insulation.
- Additional Protection: Adding a layer of sealant or varnish over the artwork will protect it from moisture and dust. This step is especially important if you live in a humid climate.
These tips will help ensure that your artwork stands the test of time and lasts longer.
You might be tempted to cover spray foam insulation with wallpaper or wallcovering. However, this is not recommended because it can interfere with the insulation’s efficiency and even cause damage to the wall.


