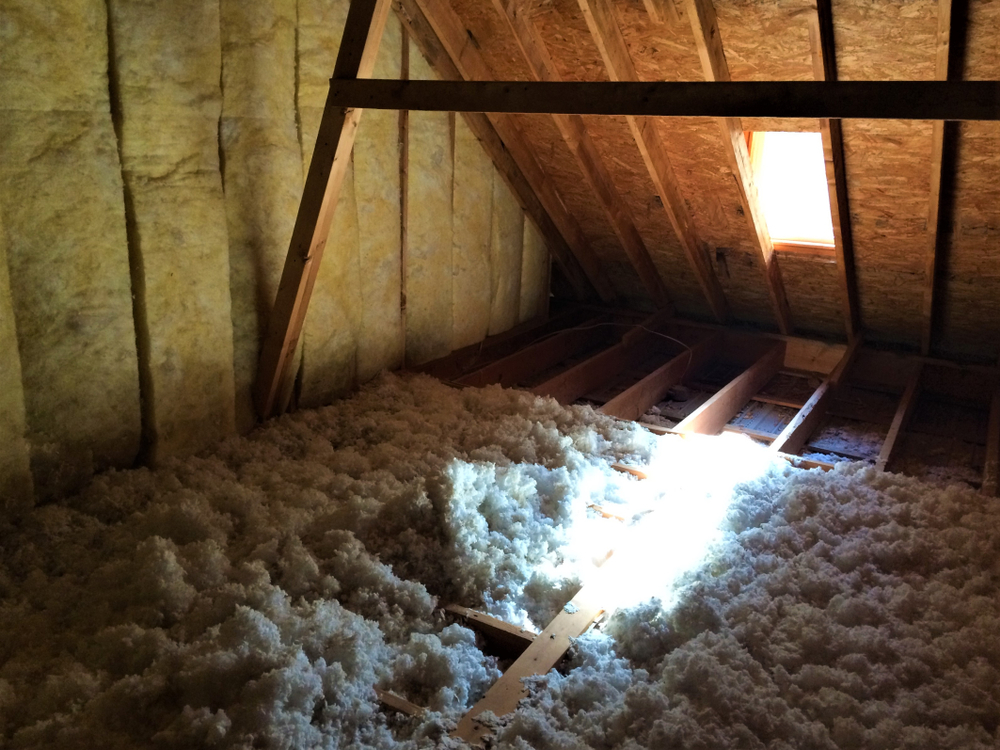
Removing old blown insulation from an attic is not a pleasant project, but it is doable by the average do-it-yourselfer. Removing insulation sometimes becomes necessary when the insulation becomes wet or damaged.
Service companies are available to remove the insulation for you, but if you don’t mind getting dirty, the job is simple, straightforward, and will save you money. Fiberglass batts and loose-fill insulation are collected the same way, whether fiberglass or cellulose.
Here we will describe the process of removing blown insulation from your attic in a safe, effective, and responsible way.
What Tools Do I Need to Remove Insulation From an Attic?
There’s really nothing complicated about removing old attic insulation. You just collect it in the easiest way possible and discard it. The most important elements of this project are doing it safely and discarding the debris in a responsible way.
Here are a few tools that will make the job easier. A few are not required to remove the insulation directly, but to help you to do the project safely.
- 30 gallon garbage bags
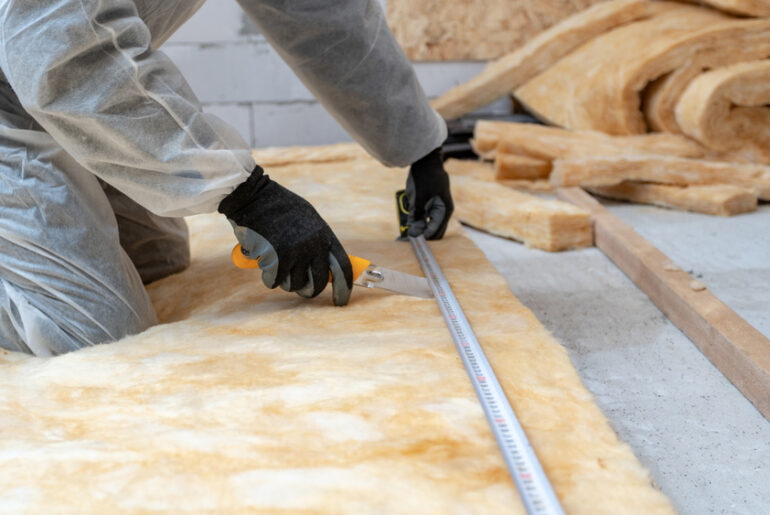
- Utility knife
- Small shovel or scoop
- Portable light, headlamp, or flashlight
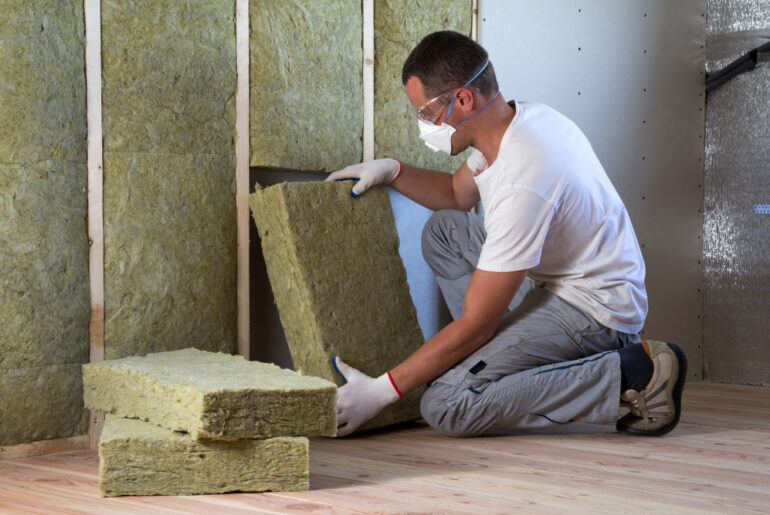
Safety gear is paramount for this project, so you will need eye, skin, and lung protection:
- Respirator
- Eye protection
- Full skin coverage, including gloves
- Knee pads (optional)
You will also need a few tools to make safety platforms:
- Cordless drill and screws
- Tape measure
- Pencil
- Carpenter’s square
- Saw
How Do I Remove Blown Insulation From an Attic?
You’ll need to be able to see where you are going, have adequate space to move, and a stable path to follow to avoid accidents.
1. Check the Lighting
The first step is to establish if the lighting is available and where the switch is. Even if your attic has built-in lighting, take a portable light or strong flashlight with you. If you accidentally nick a wire and cause a short, you don’t want to be trapped in a dark attic looking for the exit.
2. Find the Best Path
Next, establish where the insulation will need to travel from and to. If you need to remove insulation from a spot far away from the access door, provide a stop along the way to regain your bearings.
If your attic already has walk boards or a floor, use them to access as much insulation as possible. If you can’t reach the entire attic, build two platforms for support.
3. Cut the Platforms
Building a platform only requires some OSB or plywood and a few screws. If your ceiling joists or trusses are on 24” centers (as most are), cut a sheet of 4’ x 8’ material in half widthwise. You’ll have two (2) 48” square sections to use for your platforms.
The easiest option is to cut as many platforms as needed to span the attic. This allows you to leave the platforms in place as you remove the old insulation from one place to another without constantly moving them.
However, the platforms will need to be removed unless you plan to install a permanent floor anyway. Just like painting a floor, start at the farthest distance and remove one at a time on your way to the exit.
4. Place the Platforms
Lay one section perpendicular across three joists and install a couple of screws in each joist. If you feel you need additional weight capacity, purchase 23/32” thick material instead of regular OSB, but remember to use longer screws.
5. Don’t Make the Bags Too Heavy
Now you have a place to stand and a place for the bags. Fill the first bag using scoops, shovels, vacuums, or whatever tools are useful. Once the bag is about ¾ full, start another bag. Old insulation is heavier than new insulation because it contains moisture and dirt from the attic.
6. Install the Next Platform
Once you are ready to move to the next section, install your second platform adjacent to the first. Make sure you have good bearing on all three joists and install more screws. Before continuing, go back to the first platform and transfer your tools to the second.
Now continue the process, making sure your platform has bearing on three joists at all times. If you allow the platform to slide off of a joist, your bodyweight can bend or break the sheet and cause a fall.
When you reach the other end of the attic you can either reverse the process or cut additional platforms if you want a permanent floor. If you want to install a permanent floor, raise the floor to the height of the new insulation to provide enough space to insulate under it.
7. Raise the Floor
To raise the floor, sister a 2” x 10” to the joist to provide edge support along the sheet in the long direction. After the raised floor is installed you can insulate the space under it to match the rest of the insulation thickness.
8. Deliver the Bags to the Door
Next, deliver your bagged insulation to the exit door. Only deliver as much to the door as you can without blocking clear access to the door. Once the path, door, and both platforms are clean you can start the process over again. Just remove the screws from the first platform, use it as the third, and so on.
9. Remove the Bags From the Attic
Now is a great time for a helper. Whether you are transporting the bags through a scuttle hole, attic ladder, or stairs, having a helper is a great idea. You’ve just been squatting and crawling in an attic, so don’t get so tired you misstep and fall.
10. Discard the Debris
After you have removed all of the insulation from the attic you need to dispose of it responsibly. The best advice is to contact your local waste disposal center and inquire if they take building materials.
Some municipalities consider fiberglass insulation hazardous material, which may require you to take it to an appropriate collection center. As with any home improvement project, always ask permission before discarding debris, especially paints and solvents.
Some convenience centers will accept certain building materials, while others do not. Abiding by the rules is important when discarding building materials because they are usually separated from household garbage. Fines have been imposed for even accidental illegal dumping, so ask in advance.


