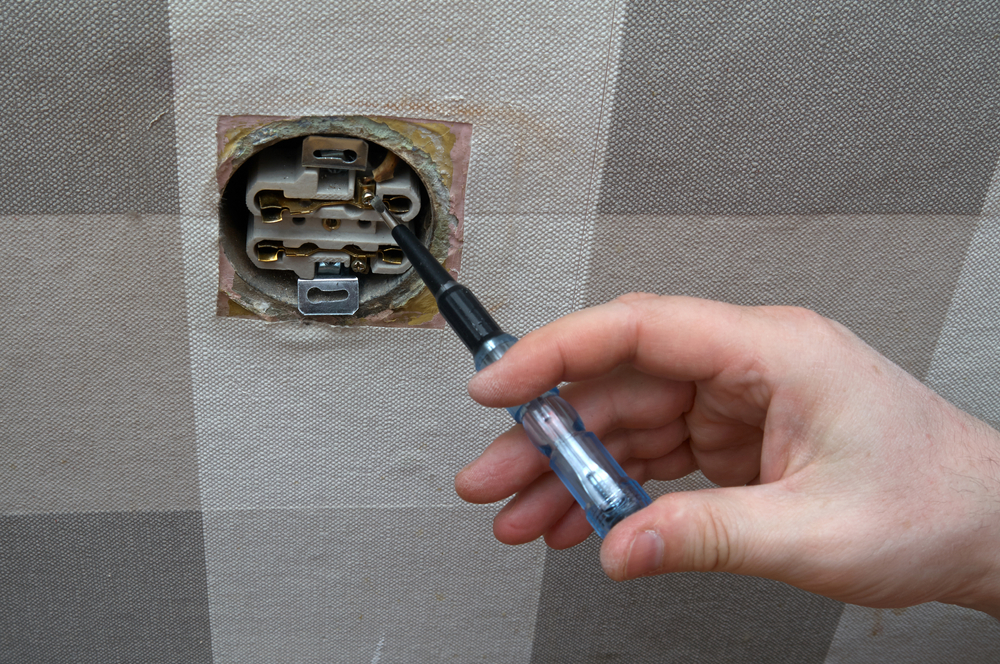
You’ve just spent a lot of time and money insulating your attic, your walls, and your basement. You expect a warm, cozy home, but somehow, you can still feel a chilly draft. Could it be your electrical outlets?
Uninsulated electrical outlets may be a source of cool breezes in your home, especially in older structures. Thankfully, you can insulate your electrical outlets with spray foam to prevent further drafts and keep your energy bills low.
How, exactly, do you insulate an electrical outlet? What kinds of spray foam should you use, and is it safe to use spray foam at all? Should you use other methods of insulation?
Read on for all these answers and more as you learn how to insulate your electrical outlets with spray foam.
Warning! Working with electrical outlets carries inherent health risks, including the chance of electrocution. We take no responsibility for any health hazards that come with insulating electrical outlets with spray foam.
Why Insulate Around Outlets?
Most people may not give a second thought to their outlets, but the fact is that your electrical outlets may be a source of drafts that make your home uncomfortable and inflate your energy bill.
Insulating your outlets can help reduce drafts and lower your energy bill by restricting airflow in your house.
Hot air will not escape as easily as before, and cool air cannot take its place, maintaining a more comfortable environment in your home without your heater or air conditioning unit working overtime.
Additionally, insulating your electrical outlets is cheap, easy, and quick. If you insulated any other location in your house with spray foam, you can even re-use the same materials to save on costs.
When you’re insulating your home, consider sparing a moment for your outlets. A few extra minutes of your time may pay off with extensive dividends!
Is Spray Foam Safe to Use Around Outlets?
For the most part, spray foam is safe to use around electrical outlets. However, there are certain factors to keep in mind.
First, you should avoid putting spray foam in contact with exposed wiring. Most spray foam is flammable to some extent, and while some varieties are more heat-resistant, it is wise to avoid fire hazards as much as possible.
Second, you should avoid spraying electrical foam inside the electrical box. While this may not be direct contact, it can still cause the wires to overheat. Overheating wires can cause issues that vary from electrical shortages to electrical fires.
Ultimately, spray foam is perfectly safe if you carefully apply it around your electrical outlets. If you exercise the same caution you use with any other electrical project, you shouldn’t have to worry about anything.
What Spray Foam to Use Around Electrical Outlets?
With all the spray foam varieties available, it can be hard to pick which one to use. Thankfully, each kind is best for unique usage.
Due to the hazardous nature of working with electricity, consider utilizing an intumescent, fire-blocking foam. These foams expand when heated, restricting airflow and minimizing the risk of a fire.
For ease of use, consider using expanding spray foam.
You may have to spend more time cutting off excess foam, but in the case of electrical outlets, the expanding foam will take up more space with less material.
However, you should always use a low-expanding variety of foam. High-expanding spray foam may offer too much coverage, resulting in a fire hazard.
How to Insulate Electrical Outlets With Spray Foam
Now that you know the safety measures you should take and which varieties of spray foam may be the best for your project, you can proceed with insulating your electrical outlets.
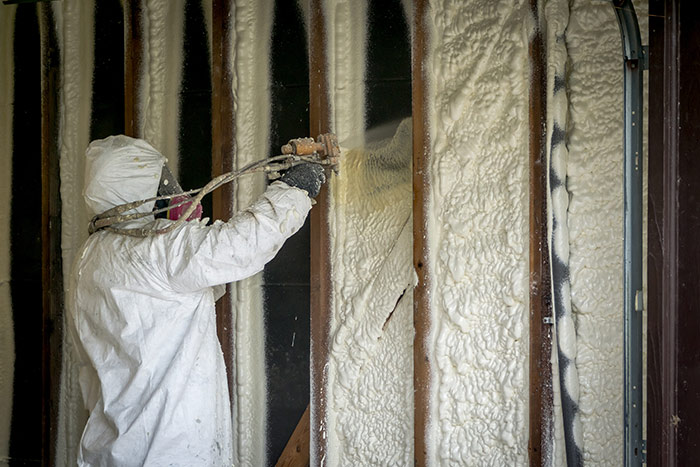
As always, you should utilize the proper protective equipment (also known as PPE) when dealing with spray foam.
In this case, the proper protective equipment will consist of gloves, a face covering, and protective eyewear.
Ideally, you should apply spray foam in a ventilated area. Try opening a window while insulating your electrical outlets, if possible.
Otherwise, consider swapping out your face covering for a full respirator to help you breathe clean air.
Step 1. Clean The Area
Your first two steps are preliminary measures when insulating your electrical outlets with spray foam.
The first step is cleaning your area of operation. If your electrical outlet has any visible debris or dust, it is at risk of combustion.
Additionally, dust and debris can prevent spray foam from properly anchoring itself to a surface, reducing how effective your insulation is.
Avoid water when cleaning anywhere near an electrical outlet, and always remember to turn the outlet off when you are working on it.
You can effectively clean your electrical outlets with as little as a q-tip and some cleaning product, such as Formula 409. Just avoid going anywhere near the socket itself.
Step 2. Prepare Your Spray Foam Can
Your spray foam will not come ready for use. Spray foam is like any other pressurized container, such as shaving cream, in that you must shake it to equalize pressure along the container.
If you fail to shake your spray foam can, your spray foam will have less pressure and be far more challenging to apply properly. It may be runny and make a mess. Shake it thoroughly for one minute.
Your spray foam can will have some form of a dispenser, such as a nozzle, that varies between brands and models.
Install the dispenser as directed on the label and give it a dry run on a spare piece of cardboard to ensure that it works.
Step 3. Fill Gap
By this point, you should have already unscrewed the face plate of your outlet. If you have not yet, now is the time.
Insert the dispenser into the gap between the wall and your outlet’s electrical box and fill the gap as needed.
Do not put the face plate back on yet. The foam will continue to expand for some time; let it sit for a moment before coming back to it for the finishing touches.
Step 4. Cure And Cut
Spray foam requires at least an hour, ideally a full 24 hours, to set and cure. During this time, it is still malleable and sticky to some degree and slightly expanding.
Once you have waited the allotted time, take a razor blade and cut off any excess spray foam. Ideally, it should be flush with your drywall.
However, in practice, the only limit is installing your outlet’s face plate. Once you can screw the face plate back on, you have successfully insulated your electrical outlet with spray foam.
Are There Alternatives to Using Spray Foam Around Outlets?
Spray foam may be a quick, thorough, and easy way to insulate your electrical outlets, but it’s far from the most efficient.
Some retailers may offer pre-fabricated foam gaskets for your electrical outlets that require less time and effort than spray foam.
While these foam gaskets will fit snugly around your electrical outlets and insulate them well, they may not be as thorough as properly-applied spray foam.
Additionally, you may choose to use caulk or putty, which are about as effective and easy to apply as foam.


