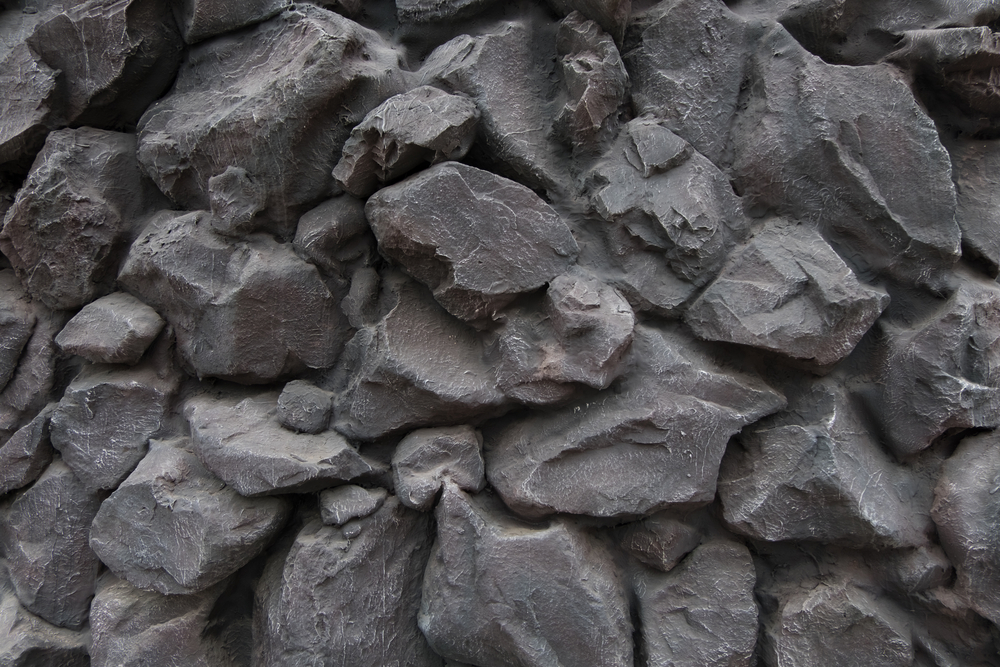
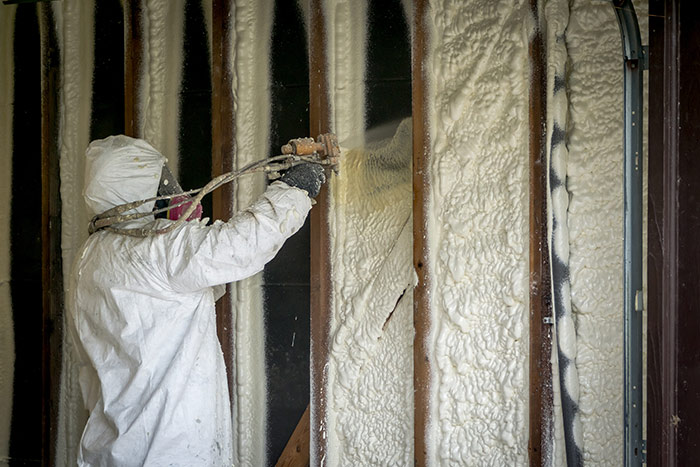
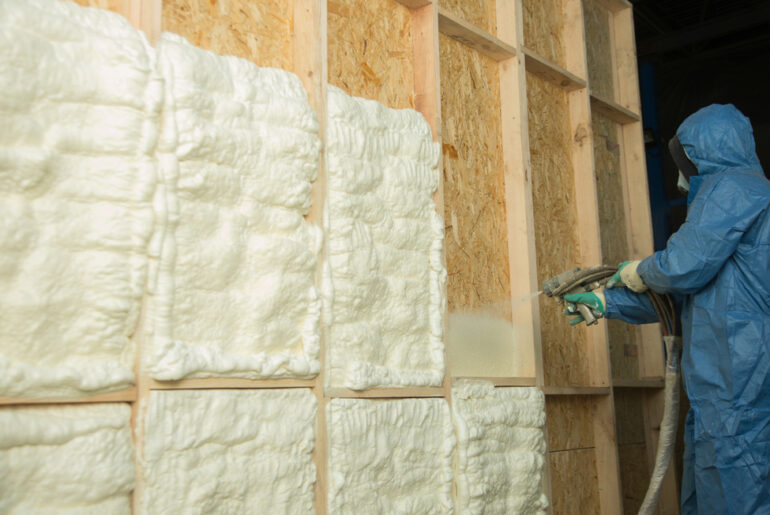
Fake rocks are a handy addition to any hobby. Whether you’re building a tank for an animal, such as a fish or a snake, or you’re setting up a diorama or wargaming table, knowing how to make fake rocks is a massive benefit. However, what is the best way to make fake rocks?
By using expanding foam, making fake rocks is quick and easy- as long as you follow certain safety procedures. If you budget your time well, you can have a set of beautiful faux rocks fully formed, cured, and painted in as little as 24 hours.
What tools do you need to make fake rocks with expandable spray foam? What kind of spray foam is the best in this scenario? What safety precautions should I take?
Learn to make the best faux rocks and make others in your hobby jealous with this guide on expandable spray foam.
1. Set Up A Safe Work Area
The first step to working with spray foam in any context is to ensure a healthy work area. In hope improvement scenarios, this typically means working with a face mask or respirator.
Thankfully, arts and crafts are a little less intense than home improvement. Ensure that your workspace is well-ventilated; in the best-case scenario, you can work outside.
Set up a workstation with something like a sheet of cardboard or a plastic tarp. If working outdoors, you don’t want dirt or debris to impact your faux rock; if working inside, you don’t want your rock to get stuck to something important.
Gather the necessary tools for the job. Some basic tools you will need are as follows:
- Rubber or vinyl gloves
- Putty knife
- Disposable plates
- Sponges, rags, or paper towels
- A paintbrush
- Acrylic paints or spray paint can
If you want to get fancy, you can consider the following tools:
- A rasp or bread knife
- Dremel tool
As expected, you will need a can of expandable spray foam. Any brand you can find at your local home improvement store will do, though you should aim for a brand that expands significantly to get the most out of your can.
2. Prepare Your Spray Foam Can
Unfortunately, no spray foam can is ready for use right off the bat. Spray foam cans require a certain amount of preparation before they are in an ideal state for use.
Shake your spray foam can for a minimum of 30 seconds or for as long as the label recommends. The time you should shake the can will vary depending on the brand and the foam’s composition.
Shaking the spray foam distributes pressure evenly throughout the can, similar to shaking a canister of shaving cream, to help give an even stream throughout the spray foam can’s lifespan.
Now, you have to attach the nozzle to the spray can if it does not come attached. Put on your gloves before attaching the nozzle, as you do not want the contents to come in contact with your skin before curing.
3. Make Your Basic Size And Shape
Move to the workspace that you have set up with cardboard or a plastic sheet. You can spray your foam directly onto this workplace.
Make a rough shape via a spiral motion, starting from the bottom and working up. If you want a tall, column-like rock, make a tight spiral.
Consider a shorter, wider spiral for a more squat rock.
Since you’re working with expanding foam, your faux rock will change significantly in size and shape from what you have placed down.
Consider this expansion when forming a basic shape; stop putting foam down far before your foam reaches its desired size. It’s best to do too little and add more later than end up with far too much.
4. Make A Rough Shape With Wet Foam
Your expanding foam should not take long to reach its full size. Within five minutes of initially spraying it, you should be able to shape your faux rock into a rough facsimile of your end goal.
At this stage, the expanding foam should have a somewhat tacky consistency. Use your putty knife- or your gloves hands- to cut, bend, dent, and manipulate your faux rock as need be.
5. Wait
Now comes the hard part- waiting. Canned spray foam takes about 8 hours to cure, though if you can afford to wait 24 hours, you should.
If you try to adjust your faux rock before it has finished curing, it may deform or expand slightly to nullify your adjustments.
6. Refine Form
Once you have let your spray foam cure, you can get into detail work.
Using any tools at your disposal, such as a bread knife or a razor blade, you can slice off large sections as needed to achieve your desired look.
Use a rasp or a file to smooth out small sections or dig gauges into your faux rock. If you have one at your disposal, a Dremel tool is an excellent choice to get into detailed work and adjust the surface texture.
7. Paint Your Faux Rock As Needed
Finally, you can paint your faux rock as needed and add any surface details.
Using a spare plate, you can craft a makeshift paint palette to store all your earthy tones. Ideally, you should use a mixture of tan, brown, and dark grey paint, depending on what look you’re going for.
Use your rags, sponges, or paper towels to get some natural color variation on your faux rocks by adding minute amounts of other earthy tones.
Consider adding a mossy wash to your rocks by watering down a green paint, or add visible moss by adding a layer of thin glue and adding dedicated diorama moss.
Fake rocks from spray foam can be combined into different configurations, such as rock walls or garden beds.


