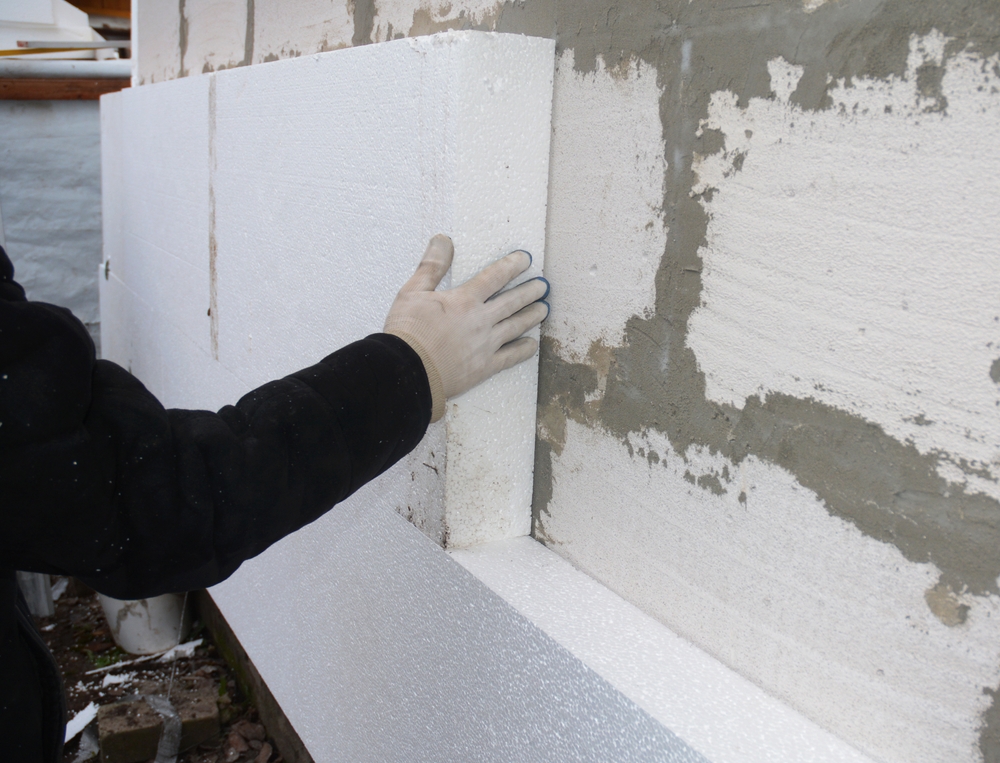
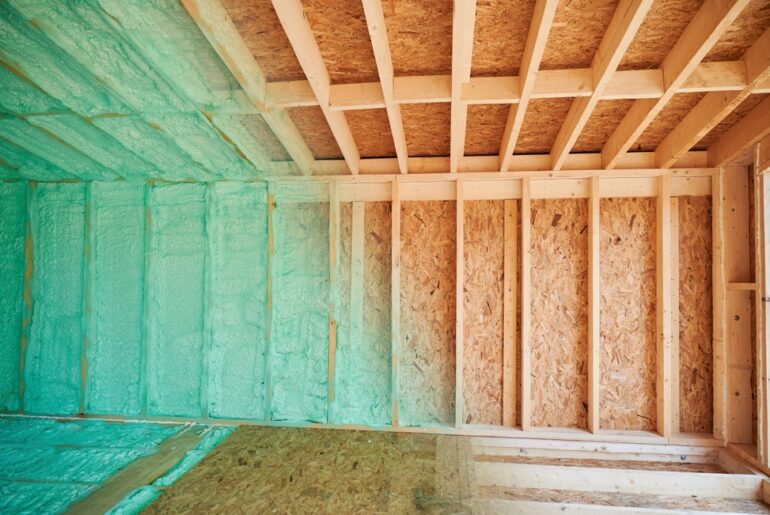
Foam board insulation is often the best choice for external wall applications that are going to be clad with a proprietary siding, whether it is a new or retrofit project.
There are a number of insulation board types to choose from, with different properties. Deciding which system is the best for your project might take some time and effort, but the benefits of getting it right will last for years.
Adding foam board insulation is a great way to minimize energy costs. Ensuring a balance between price point and performance will determine the maximum level of efficiency for your home.
Read our guide to unlocking the insulation board maze.
What Foam Board Insulation is Best for my House?
Polystyrene Boards
EPS or expanded polystyrene is a versatile material that we come across everywhere in our daily lives, from packaging beads to fast food containers. It is a plastic polymer that is 98% air and just 2% plastic.
If you are on a tight budget then polystyrene will return the highest R-value per dollar. There is no off-gassing associated with polystyrene and it is a very stable insulator, which retains its effectiveness indefinitely.
While it does not emit CFC greenhouse gasses in its production, it is fragile and is not biodegradable. While it will be treated with a fire retardant, polystyrene is flammable.
It is a messy material to cut and it will break and crumble if handled indelicately, but it is light and will not degrade in storage.
Extruded Polystyrene
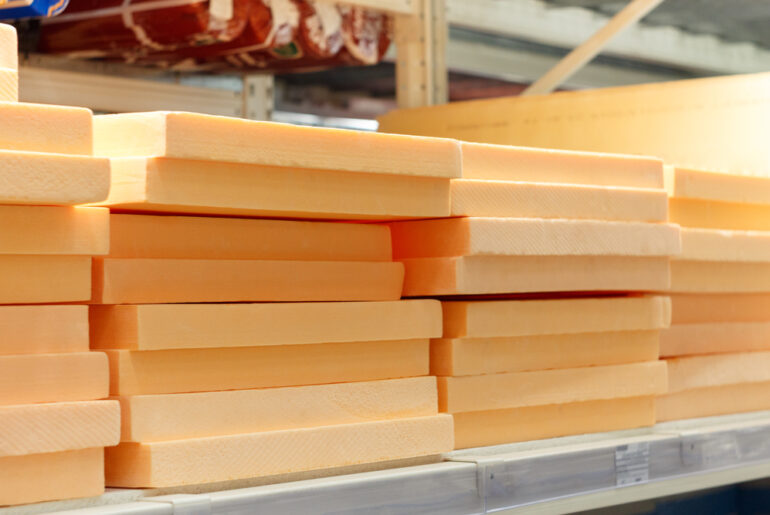
XPS, referred to as Styrofoam is basically foamed-up polystyrene where instead of air, HFC gasses are used. Like polystyrene it is also 98% air and 2% plastic.
This foam board is very strong and is great for use in areas that may remain wet all year round, perhaps at foundation level. Like polystyrene there is little or no thermal drift, which means it retains its insulating properties indefinitely.
It is a little more expensive than polystyrene, but Styrofoam is a more robust product. It is also treated with a fire retardant, which delays the spread of a fire event.
This is a good choice for single layer installs with a range of ship lapped boards making for excellent jointing. It is impact resistant, making it a robust choice too.
Polyisocyanurate
Polyisocyanurate or PIR, ISO or polyiso for short is a foam insulation bonded to either a foil or paper substrate. It has the highest R-value and sticker price.
Up to 70% of commercial new builds in the USA specify this insulation for the roof, but it is the least eco-friendly and does continue to off-gas, albeit to a low degree, over time. While it works well in hot weather, it is not recommended for cold climates as it performs less well when the temperature drops below zero.
In fact, to get the best performance from a PIR board, some experts say that it should be kept warm. It is also vulnerable to water damage but has a high level of fire resistance. However, when it does burn it can release high levels of carbon monoxide.
When used with a rain-screen set-up the metal foil sheathing of PIR board can also act as a radiant barrier on hot days.
How to Fit Foam Board Insulation to Exterior Walls
Preparation
As with all home improvement projects, preparation is key to making sure of success. This should not be a one-person job, especially if it will involve working at height, so make sure you have a partner who can help out.
Make sure you have the correct access equipment and that you can safely reach all areas up to the eaves of the building. You don’t have to buy it these days as most suppliers will be able to either hire the tools required or recommend someone who does.
Foam board insulation can take up a lot of space while it’s waiting for you to cut and fit it to the wall, and you will need an area to work in, and somewhere to stack and store the siding that has been removed too. Now is the ideal time to clear up the yard.
PIR board is wrapped in a metal foil that can be sharp, especially on its machined edges, so make sure you have a pair of gloves ready that are the right cut resistance level.
Trims/Flashings
The choice of foam insulation board is important, but so is the way the boards will be tied together, sealed at the joints and windows, and at the top and bottom and around corners. Grab a good contractor’s tape, such as Weathermate, for all the board joints and a strong flashing tape for the corners of the building and the windowsills. Your local stockist will be able to make recommendations.
At the top of the boards a proprietary self-adhesive tape product is likely adequate, but for the bottom edges a solid metal or timber trim (ledger board) will deter insects and small mammals.
Pre-Installation Checks
There are a number of things to consider before going ahead with cladding your external walls with insulating foam boards. Take a survey of everything that is fixed to or passes through the siding.
You may have a series of exterior lights that will have to be relocated. Depending on the thickness of the insulation some cabling may have to be extended. If you are not replacing your windows then think about how the new siding will finish up to them.
Is there an electricity meter set on the outside of the house? These cannot be moved except by licensed service providers, who will require a specific notice period to attend.
Will you need to access a neighbor’s property in order to carry out the work? They might have their own projects in the pipeline so it’s always good to make sure there won’t be a clash!
Installation
Once the siding has been removed and set to one side (if it is to be reused) now is the time to check and make any repairs to the building’s sheathing and fit your house-wrap. Use stretch tape to flash around all of the external penetrations, i.e. water outlets.
Set your trim or ledger board along the bottom of the wall where your siding will end. Make sure it is good and level and that any additional weather treatment is complete before fitting the foam boards.
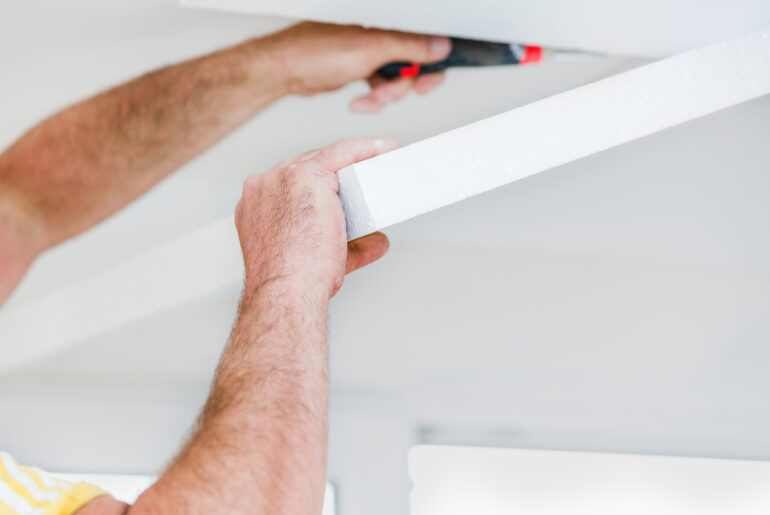
Cut the foam boards so that there are as few joints as possible. Some boards come ready ship-lapped to prevent air leakage, but if yours are not then tape or caulk the joints for added protection. Most boards are easy to cut with either an extended craft knife or hand saw.
Remember the old saying; measure twice, cut once!
Tape the boards back to the windows and door openings. At the window sills trim the boards at an angle so that any water will drain away easily when the finished external sill is installed.
Pay attention to the corners of the building. Some builders prefer to fit vertical timber up the corners for the insulation to run up to, which is great when it comes to fixing sidings, but not so good when you consider the proper encapsulation of the home with foam board insulation.
To avoid lowering the R-value in these vulnerable spots it is usually better to keep the insulation continuous all the way around to get maximum value from the upgrade. Cover the ends with a proprietary adhesive tape.
If there are any large gaps between the boards where a cutter went astray, or perhaps there is a bend at the eaves, then it is a good idea to have a can of spray foam on hand to close them up.
Once all the gaps are sealed and the boards are fitting right around the house and all the way up to the eaves, then you can prepare the site for refitting the siding.
Tips and Tricks
Use one-inch washers with roofing nails or screws to create a bigger head for retaining the boards safely before you fit the sidings.
Ensure your siding fixings are either long enough to extend through the foam to the structure of the house or install battens at regular centers to take the external finish.
If you are cladding the house with two layers of insulation board don’t be too concerned when it comes to thinking about the number of cuts to make on the first layer. Use the second layer to stagger across the joints. This way you will minimize the number of off-cuts and maximize use of the boards.
Use a proprietary sealant to seal the gap between the baseboard of the wall and the foundation slab. Cold air can sometimes find a way in at this point, along with bugs.
Keep a dry cloth handy for wiping down the insulation surface when using self-adhesive tape to keep the area dust free and ensure perfect adhesion every time.

