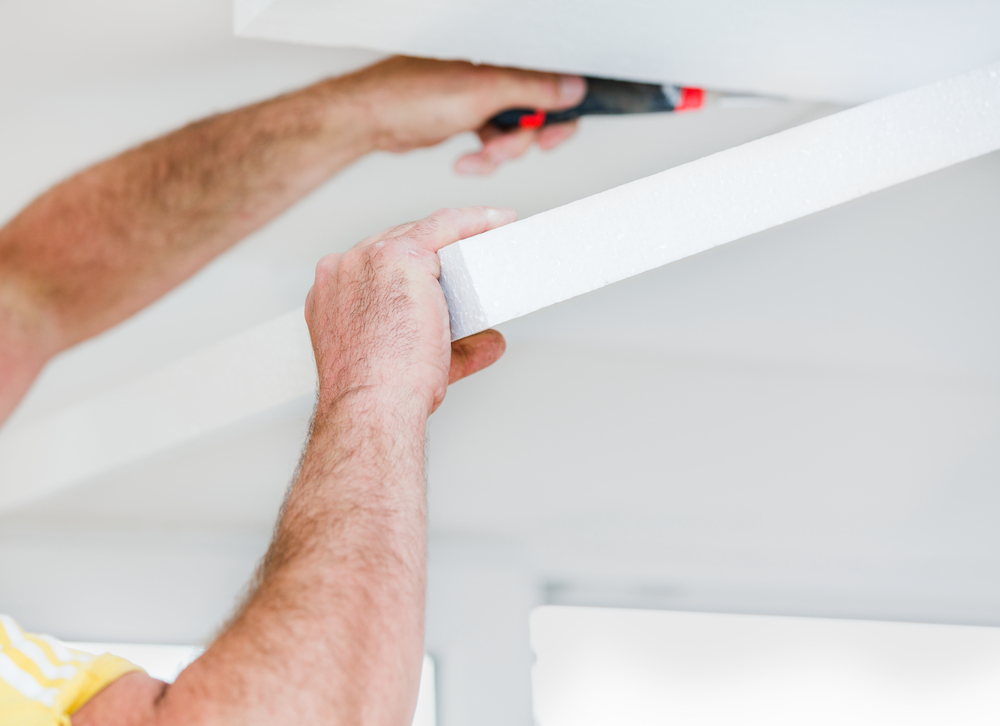
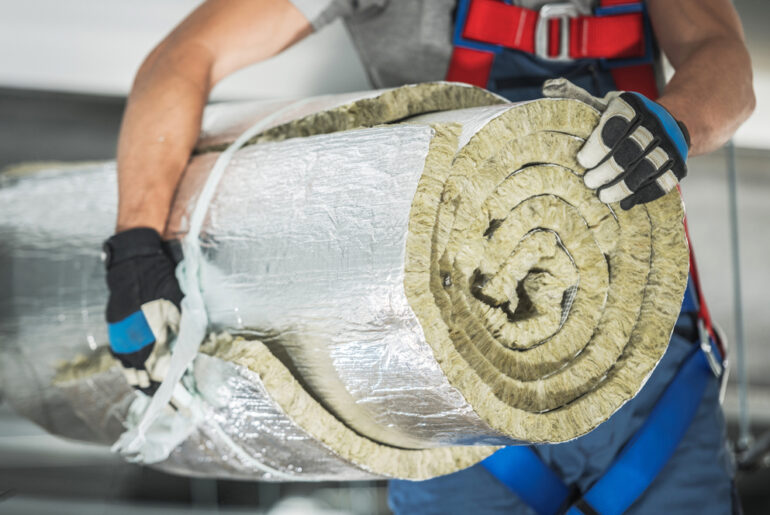
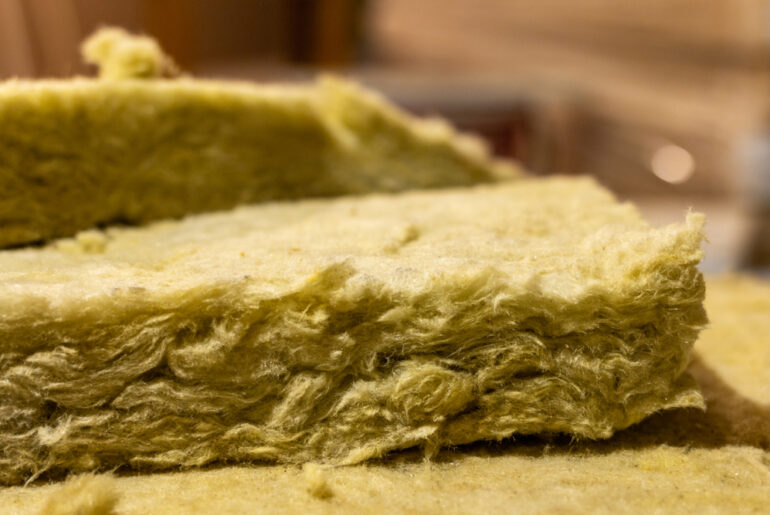
Rigid foam insulation is a popular material for insulating your basement, insulating the sheathing beneath your siding, or in between the internal studs in your wall. The trick to its effectiveness, however, is how well it is sealed against air ingress, whether it is used as a continuous insulation layer, or cut to fit.
Rigid foam insulation can be sealed with a variety of products, caulk, low-rise spray foam, weathertight tape, or indeed, a combination of one or more of these products. How, where, and why you use them can make a big difference to the efficiency of your home’s thermal envelope.
Here’s our guide to how you can best seal your foam board insulation project.
My Foam Board Insulation is Interlocking, so Does it Still Need Sealing?
While it is true to say that foam board is an intrinsically stable material and that it doesn’t deteriorate over time to any great degree, it does begin to lose R-value from the day of manufacture for up to five years from leaving the factory.
The average loss for polyiso board from R6.8 to R5.5 is well-known and documented. Styrofoam too, loses volume. What this means for you is that your rigid foam boards are likely to suffer a little shrinkage over time, which could result in those interlocking joints opening up and letting by air.
You only want to do the job once, so it is a good idea to seal joints whether a board is interlocking, or has a flat edge.
Shrinkage is less of a problem in a fourteen-and-a-half-inch space between wall studs (assuming 16” centers), however, lumber is also subject to movement over time due to heating, cooling, and variable moisture content.
Sealing Rigid Foam Board Over External Sheathing
The best way to fit rigid foam board over external sheathing is to do it with two overlapping continuous layers with the joints staggered.
It is still good practice to seal all the joints, to ensure that no air will get by. Caulk and weathertight tape is probably perfectly adequate for the first layer, but on the outer layer, a low-rise spray foam will close up any deformations or other irregularities between the joints very well.
Foam board panels can sometimes suffer from crushing, or other impact damage on the corners from manual handling, or damage from strapping during transport. These minor imperfections can easily be made good with a little judicious application of low-rise spray foam.
Similarly, if you are only using one layer, then a low-rise spray foam would be the go-to adhesive and sealer for the foam board joints.
Use a hacksaw blade to cut the excess low-rise spray foam off flush with the foam board once it has dried and hardened off properly, then dust down and seal with weathertight tape.
Sealing Rigid Foam Board Over Basement Walls
Rigid foam board is a favorite insulator for basement walls because it is resilient in the face of moisture, mold won’t take root in it, and it retains some R-value even when waterlogged. Sealing foam board with a low-rise spray foam has become standard procedure in this situation.
The foam board, however it is fixed to the basement walls, should benefit from a bead of spray foam applied all along the top and bottom of the wall, where it meets the floor and the ceiling, before boarding in with drywall.
Fill any larger deviations or deformities in joints with spray foam and when it has cured, cut it flush with a hacksaw blade, dust it off, and tape the joint with weathertight tape.
Sealing Rigid Foam Board Between Wall Studs
The best thing to do is to not attempt to get a friction fit with rigid foam. It might work for mineral wool or other batt type of insulation, but for rigid foam, you will want to leave a gap of about an eighth of an inch.
Why? Because you need to leave some room for the low-rise spray foam. Slot the nozzle halfway in between the insulation and the wall stud to make sure you get enough depth of fill for the spray foam to be effective.
The spray foam should easily take up any bends, curves or twist deviation from the vertical by the timber studs and accommodate any irregularity in the foam board insulation too.
How To Apply Spray Foam: Our Top Tips
- Always make sure the area that is to be sealed with spray foam is dry, clean, and free of dust.
- Insert the nozzle halfway into the gap between the foam board and the wall stud to ensure a proper level of insulation and adhesion.
- Squeeze the trigger gently and deliver as narrow a bead as you can. Spray foam can expand to at least twice its initial volume.
- When using cans of spray foam always wear throwaway gloves included in the pack to protect your hands. If there aren’t any provided, then it is a good idea to purchase a pair that you will be happy to get rid of after the work is complete. Spray foam adheres well to the skin and can take time to remove.


