Insulating a basement ceiling with foam board is a great project for those new to DIY. Foam board insulation is an effective form of insulation that is easy to work with, relatively inexpensive, and durable if installed correctly.
Basement ceilings are usually insulated before the home can pass an initial occupancy inspection. However, not all regions are subject to standard building code practices, so some homes may have little or no basement ceiling insulation.
Foam board insulation is often used in basement ceilings because the R value can be tightly controlled. Colder regions may need several more inches of foam board insulation to maintain the same temperature as the same home in a warmer area.
Here we will discuss the pros and cons of using foam board insulation in a basement ceiling. We will offer a few tips for a successful project and suggest a few tools you may need to make the project easier.
Why Is Basement Ceiling Insulation Important?
For most of us, basement ceiling insulation will likely pay for itself many times over in energy cost savings. Uninsulated basement ceilings usually result in cold, damp floors that must be overcome by the HVAC system, leading to higher energy bills.
Uninsulated basement floors allow cold air in the basement to cool the floors through both convection and conduction. For example, the cold air in the basement will contact the subfloor, cooling it through convection. The cold subfloor then cools the finished floor through conduction, which is transferred to your feet.
Basement ceiling insulation creates a thermal barrier between the cold basement air and the warm finished floor, reducing the transfer of heat from one to the other. The higher the R value of the foam boards, the greater the resistance to thermal transfer.
Do I Insulate a Basement Ceiling Even If the Basement Is Unfinished?
If a basement is unfinished it is essentially a large crawl space. Crawl spaces must be both vented and insulated to prevent the thermal transfer described earlier. Even if a basement will never be converted into living space, the ceiling should be insulated to at least R-11, which is the minimum required by most building codes.
Why Is Foam Board Insulation Good For Basement Ceilings?
Foam board is an excellent choice for basement ceiling insulation because you are installing the material overhead. Heavy materials installed overhead can be very fatiguing, so lightweight materials like foam boards are much easier to install, especially when working alone.
Foam boards are available in a few different configurations but most boards used for basement ceiling insulation will be made from Expanded PolyStyrene (EPS), Styrofoam (a form of EPS), or Extruded Polystyrene (XPS).
Foam boards are available in a wide variety of thicknesses, which affects the R value of the board. EPS provides about R-3.5 per inch, while XPS provides closer to R-5 per inch. XPS foam board is more dense than EPS, which also makes it a bit more rigid.
Is Foam Board Insulation Expensive?
Foam board insulation can be one of the least expensive ceiling insulation options. However, if several layers of foam board would be required to provide the same R value as a single fiberglass batt, the batt may be a better investment in time and materials.
XPS Cost
Compared to other forms of basement ceiling insulation, foam board insulation is likely the most cost effective solution. Generally, XPS foam boards will be more expensive than EPS, costing about $45.00 for a 1” x 48” x 96” panel.
EPS Cost
The ratio of air to polystyrene is much higher in EPS foam boards than XPS boards, so the cost is usually less. The R value of EPS is also lower than XPS, so you may need more EPS than XPS for the same project.
A 1” x 48” x 96” EPS foam board will usually cost about 50% less (under $20.00) than XPS. However, since more EPS layers will be required than XPS, the additional labor and materials required to achieve the same R value will often offset the initial cost savings.
What Are the Pros and Cons Of Using Foam Board Insulation In a Basement Ceiling?
In practice, there really aren’t any cons to using foam boards as basement ceiling insulation. Compared to using fiberglass batts, mineral wool, or expanding spray foam, foam boards are safer to work with, more lightweight, and often less expensive.
If foam boards do have a downside when used to insulate a basement ceiling, it is the time required. Foam boards can be stacked to increase the R-value and can also employ sound deadening techniques using acoustic caulk.
Adding foam boards can be time intensive, but if work time is short you can purchase thicker boards. Some foam boards provide nearly R-20 in a single layer, so many structures can be insulated in one pass, just like with batts.
How Is Foam Board Insulation Installed In a Basement Ceiling?
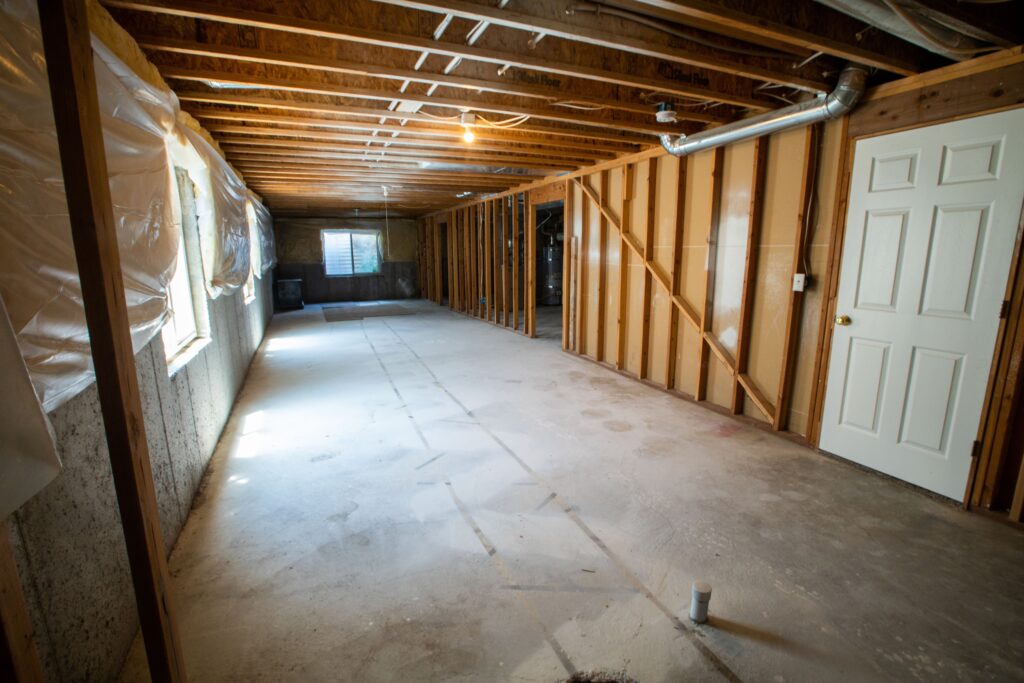
Basement ceilings are often designed differently than upstairs ceilings. Homes with basements tend to use the basement for unseen wiring, ductwork, and pipes. For this reason, a great number of basement ceilings are covered with acoustic tiles, also known as a drop ceiling.
Drop ceilings are perfect for a basement because each panel rests within a framework without being permanently attached. Drop ceilings provide a finished look to a basement, while hiding mechanical systems from view.
Because each panel is removable, retrofitting foam board between the floor joists (or floor trusses) is very easy. Here is an overview of the process:
1. Measure the Area and Space Between the Joists
Measure the area of the basement ceiling by multiplying the width by the length. For example, if your basement ceiling is 16’ by 20’, you will have an area of 320 square feet. If your joists or trusses are on 24” centers (as most are), 48” x 120” foam boards will produce the least amount of waste.
2. Install the Foam Boards
Generally, you can rip each foam board to 22 ½” in width if the basement has floor joists. If the ceiling is constructed from 2” x 4” trusses, the width will be closer to 20 ½”. Most foam boards are installed with an adhesive like this one.
If you are using multiple layers of thin foam boards, be sure to stagger the joints to prevent any overlapping. A common practice is to cut the first board in half and use the half board first. Then you can continue with full size boards without worrying about an overlapping joint.
If you opt for thicker foam boards that can provide the R value in one pass, the same process will apply. However, consider upgrading to a stronger adhesive, like this one to ensure the holding power is adequate for the additional weight.


