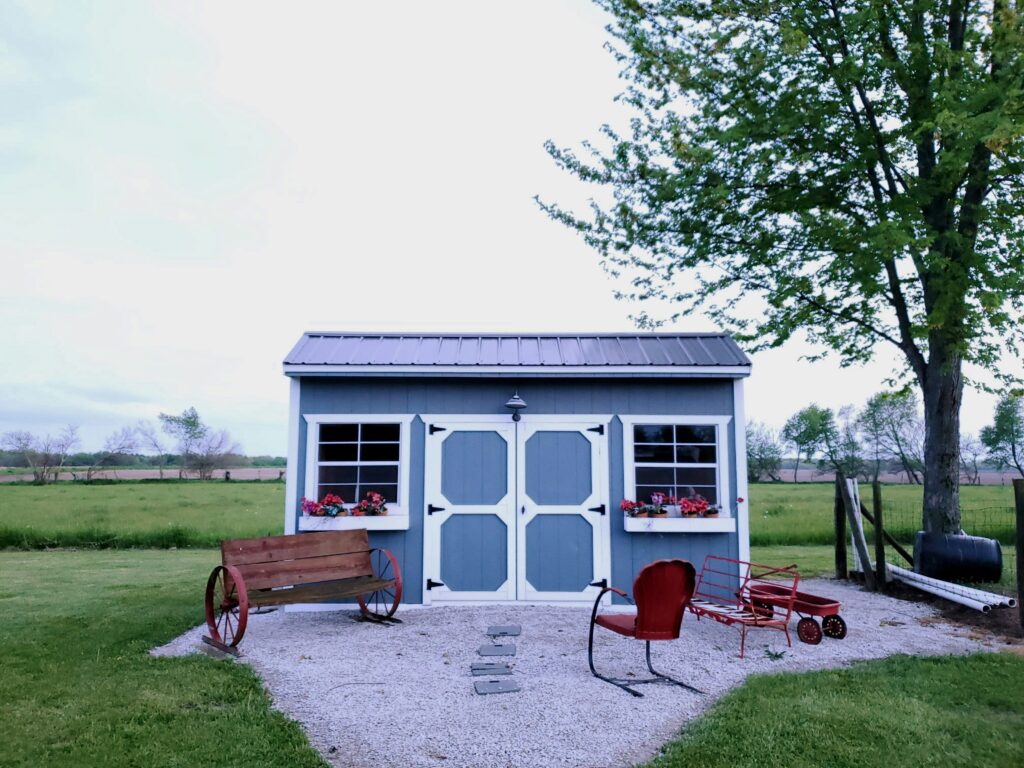
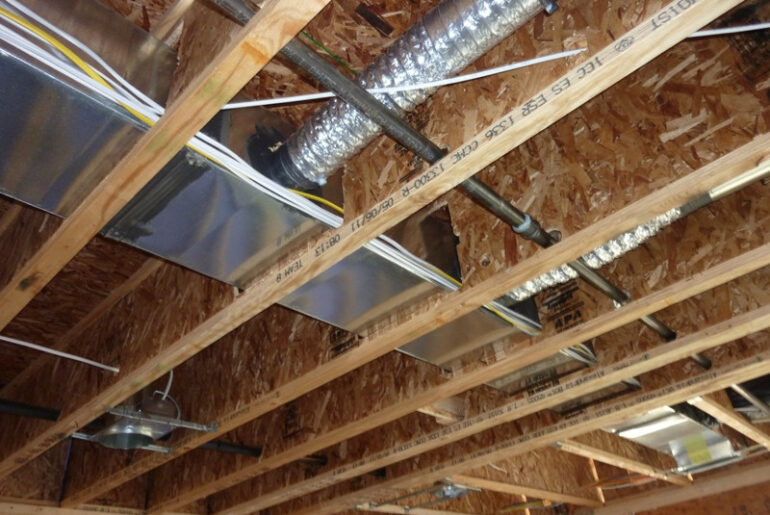
Fortunately, shed roofs are among the easiest roof types to insulate. An insulated shed roof has much more insulation value, called R value, than a shed roof without it. This helps the roof melt snow and ice faster, as well as keep the space underneath warmer, if the walls are also insulated.
Adding insulation to a shed roof is relatively easy from either underneath, or from above. Because of a shed roof’s design, there’s a built in space between the ceiling and the roof to add the insulation. You can use materials like spray foam, rigid foam boards, mineral wool, fiberglass, and even cellulose.
Although we are discussing how to insulate a shed style of roof, the methods will also work on an actual storage shed with a slanted, or gable, style roof. Here we will discuss the common steps for insulating a shed roof, and the tools you may need to have available.
Why is Insulating a Shed Roof Important?
Insulation provides a thermal barrier between the ceiling of the roof and the roof sheathing. If the structure has insulated walls as well,the interior space can be heated or cooled. If your shed roof sits on posts, as might be found on a carport, the insulation can help prevent snow and ice buildup.
What Happens if I Don’t Insulate My Shed Roof?
Uninsulated shed roofs are only appropriate for storage sheds, dog houses, and other utility type structures. Insulating the roof can also help it last longer because the framing and ceiling are exposed to less intense fluctuations in temperature.
What Tools Do I Need to Insulate a Shed Roof?
The tools you’ll need will depend on the insulation method you choose. Here’s a list of the most common tools used for insulating a shed roof:
- Ladder
- Personal protective equipment (PPE)
- Knife with a blade 6” long or longer
- Measuring tape
- Straight edge
- Marker
- Staples and stapler
- Adhesive and caulk gun
- Button cap nails
- Hammer
Which Insulation is Best for a Shed Roof?
The best insulation you choose for insulating your shed roof will be determined by a few factors. Here are a few
U7 situations where one type of insulation might be a better choice than another:
Working Alone vs. Working With a Helper
If working alone you’ll probably find working with fiberglass batts and rigid foam boards to be the easiest. If you have a dependable helper that has the mobility to help hold and carry the insulation, spray foam, foam boards, and fiberglass loose fill are good options.
Budget is Low vs. Budget is High
To keep the cost down choose rigid foam insulation boards, mineral wool batts, or fiberglass batts. Loose fill, including both fiberglass, mineral wool, and cellulose require the use of an insulation blower, which may come at additional expense.
Available Time vs. Your DIY Skills
If your DIY skills are new or limited, but you have plenty of time to learn a new skill, any of the insulation options mentioned previously will work. Spray foam requires the most skill, but there are DIY kits available.
If your DIY skills are good, but your available time is constrained, spray foam is likely your best option. Spray foam is superior to other insulation materials in almost every way, but the installation process can be complex and dangerous without the proper experience and training.
How to Install Insulation On a Shed Roof
Spray Foam
Spray foam insulation is available in both open cell, and closed cell forms. Open cell foam expands about 3-4 times more than closed cell foam, so it’s best used to fit small gaps and cracks.
Closed cell foam offers about double the R value of open cell by volume, so you’ll need less closed cell foam than open cell to achieve the same R value. That can be handy when the cavity to be insulated is shallow, like a wall, attic, or crawlspace.
You’ll need the appropriate PPE before working with spray foam, such as a respirator, eye and skin protection, and gloves.
Carefully follow the directions that come with your kit, but generally, here are a few tips:
- Keep cords and hoses neatly routed so you don’t trip yourself.
- Practice in advance.
- Have a planned starting and stopping point.
- Avoid overfilling the void, or you may have to trim it away later if it over expands.
- Ensure you have reliable lighting available
- Have someone nearby in case of an emergency
- Keep any source of ignition far away from spray foam until it cures.
Fiberglass Batts
Fiberglass batts aren’t normally as dangerous to work with as spray foam, but you’ll still need the same PPE. Purchase batts with a paper backing to avoid the need for insulation hangers. Purchase the correct insulation width you need to avoid trimming each batt to fit.
Most pros use a stapler for speed to attach the tab on the paper backing to the ceiling joists or rafters. On a shed roof, make sure there’s still a little space between the under side of the batt and the upper side of the ceiling. Install a baffle if needed to prevent blocking the ventilation between the insulation and the ceiling.
Mineral Wool Batts
Mineral wool insulation batts are used just like fiberglass batts, with the following exceptions:
- Mineral wool is harder to cut, so the pros often use disposable knives or shears.
- You can use mineral wool without using any fasteners. Just cut the mineral wool slightly larger than the space between the rafters or joists, and press the wool into place. If you prefer, you can use adhesive, insulation hangers, or staples instead.
- You can reuse the scraps. Using the compression method you can use the little pieces left over from trimming.
- Mineral wool is very fire resistant, so use it around any source of heat, like a furnace door, or gas pilot light.
Loose Fill Fiberglass and Cellulose
Loose fill is one of the fastest methods for insulating a shed roof, but there are a couple of caveats. First, you’ll probably need a helper to feed the blower, while you operate the nozzle. Second, the shed roof will require a ceiling for the loose fill to rest upon.
Here are a few tips for insulating a shed roof with loose fill:
Confirm you have a safe path to and from the farthest point to the starting point and work your way backwards. That way you won’t have to walk across the insulation to get off the roof, or out of an attic.
Keep a flashlight with you if working in an attic. You could accidentally step on an electrical wire and trip the circuit breaker, turning off the lights.
Have a way to communicate with your helper, or use the remote control switch on the blower to stop and start the flow of insulation. Avoid overfilling an area at the expense of another.
Rigid Foam Boards
Rigid foam boards might be the easiest type of shed roof insulation to work with because it is lightweight and easy to cut. The downside is that the installation process is often slow because the boards are installed in laters.
Use a utility blade to cut the boards instead of a saw to reduce airborne dust. Cut the boards for a snug fit, and either glue, staple, or nail the boards in place. To make the panels more sound proof, add sound absorbing adhesive caulk between the panels. This creates a small air gap between the panels, so sounds struggle to pass through.
Learning How to Insulate a Shed Roof the Professional Way
Learning how to insulate a shed roof is a skill you can use over and over, and a great place to practice your DIY skills. Just don’t put the project off. Insulating your shed roof sooner rather than later will add years to your roof, while increasing your enjoyment of the space.
If you would prefer to consult with a shed roof insulation expert the easiest way is to ask for a free, no obligation consultation with a pro. You’ll get a warranty, professional installation, and gain a resource you can call in the future.

