There are many benefits to installing mineral wool insulation yourself, and if you are a competent, handy DIYer, the prospect should hold no fear. It is fast, clean, and does not produce a lot of irritating dust, and even if you have not attempted such a project before, it is easy to achieve an excellent result.
There are a few simple things to remember when installing mineral wool insulation. It is not a difficult DIY project as long as you are confident with a tape measure and cutting tools. No glue is required; if done properly, there will be little mess to clear up afterward.
So, let’s get into how to install mineral wool insulation.
Pre-start Checks
Failing to plan means planning to fail.
Do you have the right depth of insulating material?
Rockwool Comfortbatt comes in at R-4.2/inch, delivering just over R-16 in a 4” cavity, and a little over R25 in a six-inch cavity. In both cases, these mineral wool batts will likely meet local code requirements, which it is always sensible to check.
Have you measured up for enough material to do the job?
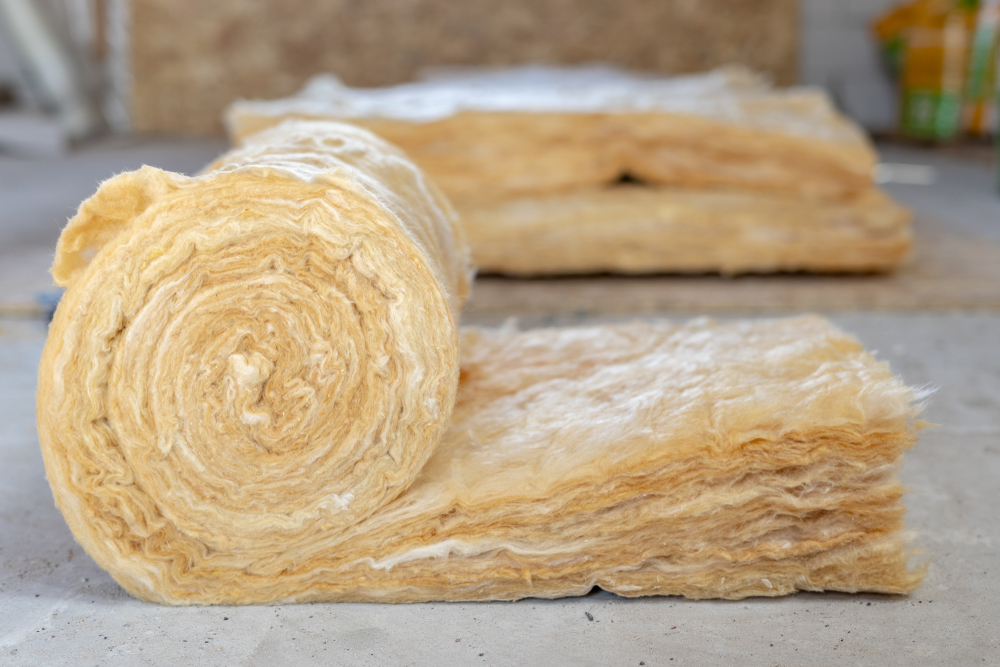
Most mineral wool batts come in standard 4’ by 2’ packs, ready to be cut down to fit between wall studs. A pack of six batts will give you 48 square feet of coverage, so in a wall that is 10’ wide x 7’, 6” tall, with a 4’ x 4’ window (-16’) and 16” wall stud spacing, you will need at least 8 batts (63 square feet).
What Protection Will You Need?
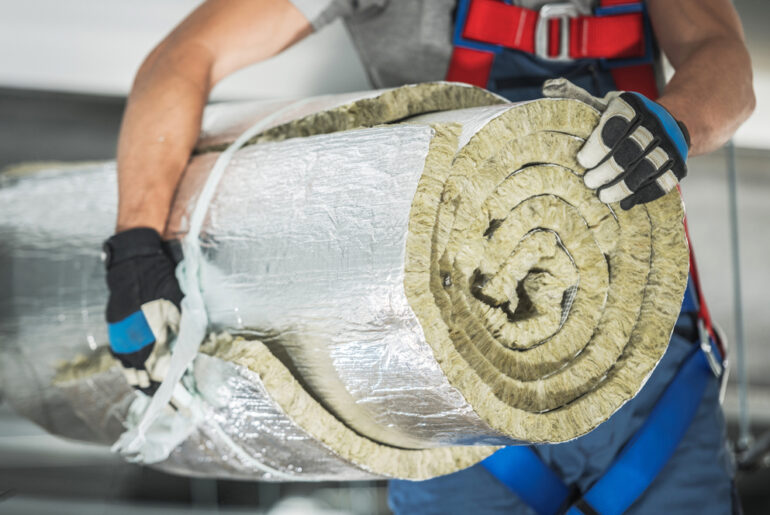
- Mineral wool insulation is not toxic and is not a great irritant, however, when cutting it we would always recommend that you wear a mask.
- Gloves are also recommended, and the manufacturer, Rockwool, states that long sleeves and long trousers are to be worn.
- If you are insulating a ceiling, then eye protection is only sensible to stop dust and grit from getting in.
Installing the Mineral Wool Insulation
Getting Set Up
Mineral wool is a cinch to cut for something made out of rocks, as long as you have set yourself up properly to do the job.
Use a workbench, or cover a table, or the floor with a piece of plywood, or similar. Concrete floors are great for blunting cutting edges.
Ensure that you have good lighting so that the workpiece won’t be in shadow, so you can easily see what you are doing.
Measure and Add On
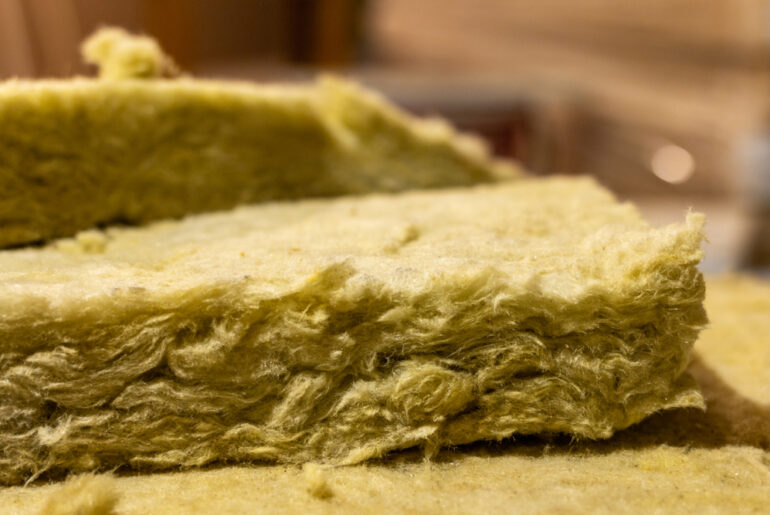
The most important thing to know about mineral wool insulation batts is that they are a compression-fit material. If the spacing between the wall studs is 15 ¾” inches, then adding another half inch and cutting the insulation to 16 ¼” is a good idea.
You can glue, or screw it in place too, dependent upon where, and what surface you need to insulate.
What you don’t want to see are small gaps where the studs might have wandered off course over time. Slicing little pieces up to fill these gaps is difficult, and you will lose the continuity of insulation. If your batt does come up short, then take it out, re-cut, and use the rejected piece somewhere else where the wall stud wobble goes the other way.
It is also true when measuring height. Adding a little on and squeezing mineral wool into the gap means it will spring out and close up any areas that might vary.
Use the metal tab on the end of your tape measure to mark the measurements ready for cutting. A straight edge and a utility knife is the best way to mark up straight lines as a pencil or pen won’t usually show up.
What to do With Outlet Boxes and Services
Measure as accurately as you can for outlet boxes, then cut out what you need to go around the box. Oftentimes the box won’t take up the entire depth of the stud wall, so you can take the cut-out and carve it to fit behind the box.
There is an alternative technique you can use when the outlet is attached somewhere between studs on a backboard. Take the batt that’s ready to fit between the studs and apply pressure to the face of it over top of the outlet box. This action will result in an impression being made on the batt, which you can use to direct your cutting tool.
Cables can disappear quite readily within mineral wool. Simply score a cut along the direction of travel and push the batt over it.
Conduits and water pipes are a little different as they are larger. These will require a larger portion of the wool cut out, either in a V shape or a C-channel.
Don’t miss out on insulating behind water pipes as you will want them within the thermal envelope of your property wherever possible.
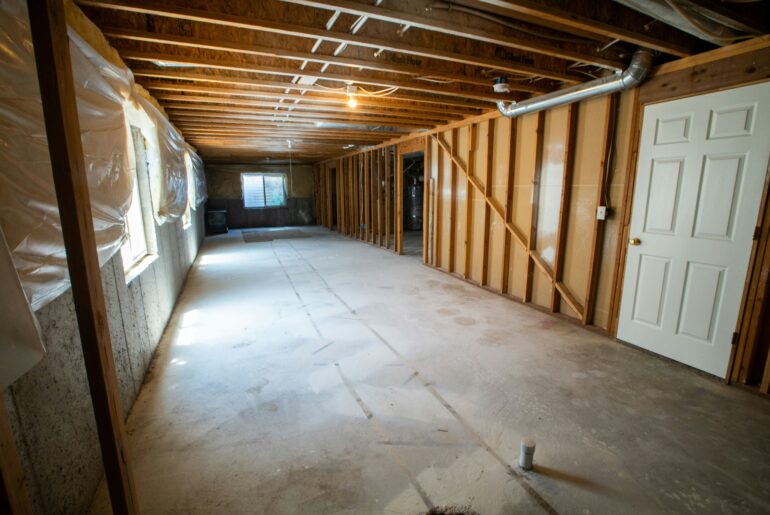
Once you have filled all the spaces between the studs, around the windows, and by the electrical and other services, check for any open spots that might need an additional piece of material. Any gaps will mean that the wall will not perform as well as it might.
Once you are happy the wall is as snug as it could get then it’s ready for drywall.
External Continuous Insulation with Mineral Wool
Mineral wool is very water resistant, so you don’t have to wait for a perfectly dry day to begin your installation work, but be shy of working in the pouring rain!
Here are our top tips for a perfect external installation before you fit your siding.
- Mineral wool is bug-resistant, but this doesn’t mean you shouldn’t install bug mesh at the top and bottom of the wall before fitting the insulation!
- Mark up the center positions of the wall studs on the sheathing house wrap, so you can be sure of getting the best fixing.
- Use a level to ensure the first course is fitted correctly and take care to align the batt edges with the centers of the stud walls.
- Fit the mineral wool batts horizontally, with two to three clips per batt to temporarily hold them in position.
- Line up these fixings with the wall studs and secure them with washers.
- Fit the next courses such that the joints are staggered.
- Fix your vertical firring pieces through the insulation, house-wrap, and sheathing, directly into the wall studs.
- Tip: If a fixing should miss a wall stud, leave it in the wall so that the wrap remains sealed.
- Tip: External corner firring pieces may need to be more robust to take the additional loadings.
- Now is the time to wrap the bug mesh over the end of the insulation and the firring strips!
- Remember to install the cladding to the firring strips only, to prevent cold bridging.
Check out this article to find out which cutting tool works best with mineral wool insulation.


