Energy audits have been known to label can lights as a significant source of heat loss in a home. Solving the problem can be challenging when there’s no attic space above, from which to insulate the can lights.
Energy loss from improperly used or installed can lights can account for wasted energy not only from the wasted heat, but the drafts that often surround the fixture. These drafts allow the roof vents to literally suck the conditioned air from your home, which you then have to replace.
Today we will discuss how to insulate can lights without attic access, and how to determine which method will work best. You’ll need to identify which type of can light you have, and how it was installed.
How Do I Know If My Can Lights Are Uninsulated?
Generally, there are two types of can lights, often referred to as recessed lights, which are essentially flat with the ceiling. Can lights are categorized as non-IC and IC versions, indicating if they can be safely insulated.
IC stands for “insulation contact”, which means the fixture is designed to emit most of the heat from the bulb outward, into the room. Non-IC can lights do not have this feature, so much of the heat from the bulb rises into the space above.
These bulbs can get very hot, so if combustible insulation comes into contact with the fixture it becomes a fire hazard. Even if the insulation isn’t combustible, the heat build up caused by the insulation can ignite nearby wooden framing. Never attach insulation directly to a non-IC can light fixture for this reason.
IC rated can lights can contact combustible insulation due to their design, and the limitation of the bulb wattage. IC can lights are limited to smaller bulb sizes to limit the amount of heat generated, so most users add additional can lights if needed, instead of increasing the bulb wattage.
What Are the Pros and Cons of Insulating Can Lights?
Pros:
- Reduce energy costs
- Reduce drafts
- Works in both wet, and dry, locations, such as a kitchen and bathroom
Cons:
- If you have several can lights to insulate the job can be time consuming
- Not a good DIY project if working over your head is uncomfortable
How to Insulate Can Lights Without Attic Access
If you have determined your can lights are IC rated, you can insulate them a couple of ways, and mix and match materials. You might use a can light insulation kit, foam boards, batts, caulk, or all of the above.
The very first thing you’ll need to do is turn off the power. Use a wire tester to make sure nothing is still energized. You’ll probably need some additional lighting, so set up a work light or flashlight to work by.
Here are the basic steps for insulating can lights without attic access:
1. Removing the Fixture
Some can light fixtures use a spring-loaded clip to release the fixture from the opening in the drywall. Others use small screws located on the inside of the fixture where the bulb goes. These are usually slotted and include a wing nut for easy removal.
Remove the fixture slowly because the attached wiring may be secured to a nearby rafter with a staple. Determine how much slack is in the wire before accessing the connections.fixture from the opening, and detach the wiring.
2. Adding the Insulation
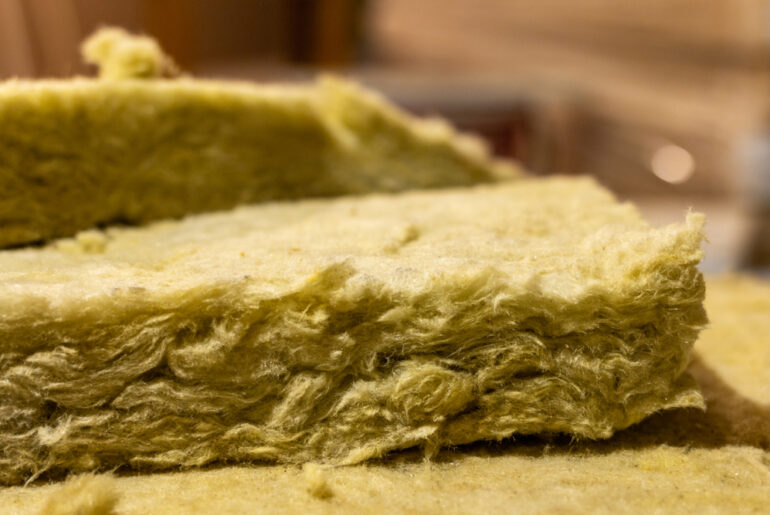
Most DIYers go the simple route and use mineral wool batt insulation, as it doesn’t usually require significantly enlarging the hole. If you use fiberglass batts you may find it difficult to reinstall the fixture after wrapping it, due to the increase in circumference.
Mineral wool is not only fire resistant, but regains its shape. Wrap the mineral wool snugly around the outside of the can light and secure it with insulation tape.
3. Reinstalling the Can Light Fixture
To reinstall the can light, reattach the wiring as it was and guide it back into the hole. If needed, use a narrow, flat blade to compress the mineral wool as it goes into the hole until the fixture is again flush with the ceiling.
After both the fixture and insulation pass through the hole, the mineral wood will spring back out to its original shape, regaining its R value. Reattach the clips or screws to the fixture and test the operation.
Learning How to Insulate Can Lights Without Attic Access the Right Way
The key to successfully insulating can lights without attic access is to be patient, and safe. Use the appropriate personal protective equipment (PPE) for the job, such as eye protection. Make sure the power is turned off before touching any can lights or removing them.
If you would prefer to let the pros tackle the project, requesting a free estimate is the easiest way. Look for a local insulation professional that offers a warranty, and has the experience to back it up.


