Insulating the underside of the roof is a great way to conserve energy and keep your home cooler in the summer. There are a few different ways to insulate your roof, and the best approach for you will depend on the type of roof and the climate in your area.
Polyurethane spray form, batts, and loose-fill are the most common types of insulation for the underside of the roof.
In most cases, the insulation material is applied to the OSB or plywood used to construct the roof. The insulation prevents cool air, wind, heat, and moisture from coming inside. Here’s a closer look at approaches you can take to insulate your roof’s underside.
Why Insulate Underside of Roof?
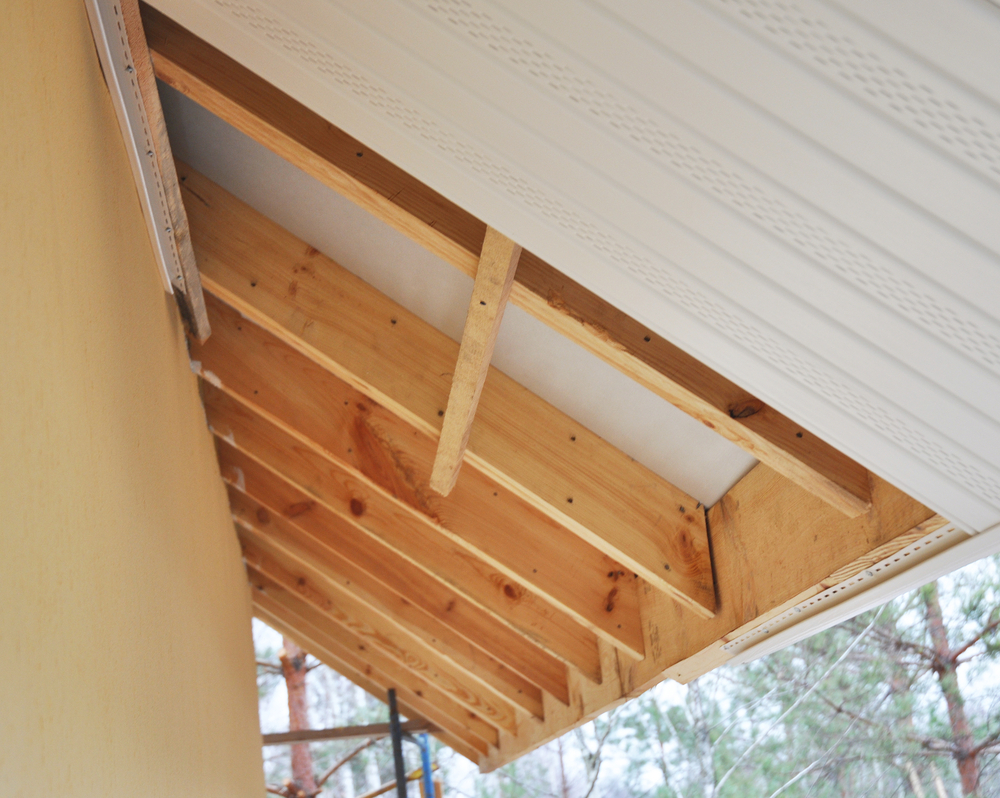
The underside of the roof refers to the area between the roof deck and the insulation. It mostly refers to the OSB or plywood used in construction.
Insulating the underside of your roof can help to:
- Reduce energy bills
- Keep your home cooler in the summer
- Prevent moisture and pests from entering your home
Compared to external insulation, internal insulation is more effective at reducing heat loss. It also helps to protect your roof from weather damage.
Homeowners often have to choose between insulation on the underside of the roof or the attic floor.
Insulate the floor if you want to reduce your energy bills because in doing so, you will heat and cool fewer cubic feet of air as compared to rafter insulation.
Spray Foam
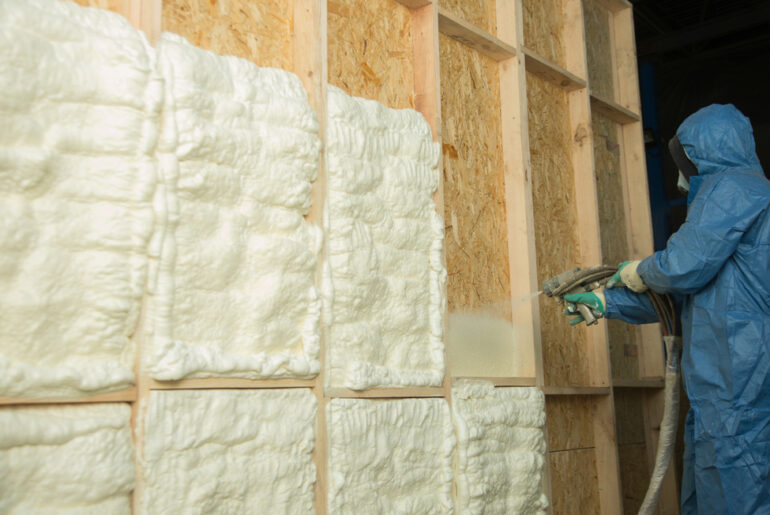
Spray foam is one of the most popular types of insulation for the underside of the roof. It’s made of two liquids that expand and harden when mixed together.
Opt for spray foam when you want an insulation material that:
- Fills in cracks and gaps
- Prevents air leakage
- Bonds well to the roof deck
Open-cell spray foam has an R-value of 3.6 to 3.8 per inch. Meanwhile, closed-cell spray foam has an R-value of 4.9 to 7 per inch. The higher the R-value, the better the insulation.
Advantages
- Seals All Gaps: Since spray foam insulation is sprayed on, it bonds to the roof deck and fills in all gaps. It helps prevent roof leaks, pests and moisture from entering your home.
- Easy to Install: The installation process is quick and easy. You can do it yourself with a few tools.
- High R-Value: Spray foam has a high R-value, which means it’s a great insulator.
- Long-Lasting: Spray foam lasts for decades and won’t settle over time.
Disadvantages
- Expensive: The initial cost of spray foam is higher than other insulation materials.
- Strong Smell: Spray foam has a strong smell that can be overwhelming. It might linger in your home for some time. These fumes are called Volatile Organic Compounds (VOCs) and are emitted by the foam over time. That’s why you should ensure adequate ventilation when applying spray foam insulation.
- Not Environmentally Friendly: Spray foam is made of chemicals that can harm the environment.
Cost
Open-cell spray foam costs around $0.44 to $0.65 per board feel, whereas closed-cell spray foam costs $1 to $1.50 for the same area. On average, you can expect to spend $1,500 to $2,000 on spray foam insulation.
Spray Foam Application: Step-by-Step
Since spray foam is easy to install, you can do it with a few tools. Here’s a step-by-step guide to help you get started.
Step 1: Measure the Area
Before you start, measure the area you will be working on. It will help you determine how much spray foam you need.
Step 2: Get the Spray Foam Kit
A spray foam insulation kit comes with a gun, hoses, and two drums of foam. One drum contains a chemical that helps the foam expand, while the other has a fire-retardant agent.
Step 3: Set Up the Gun
Follow the instructions in the kit to set up the gun. Then, mix the contents of the two drums together in the gun.
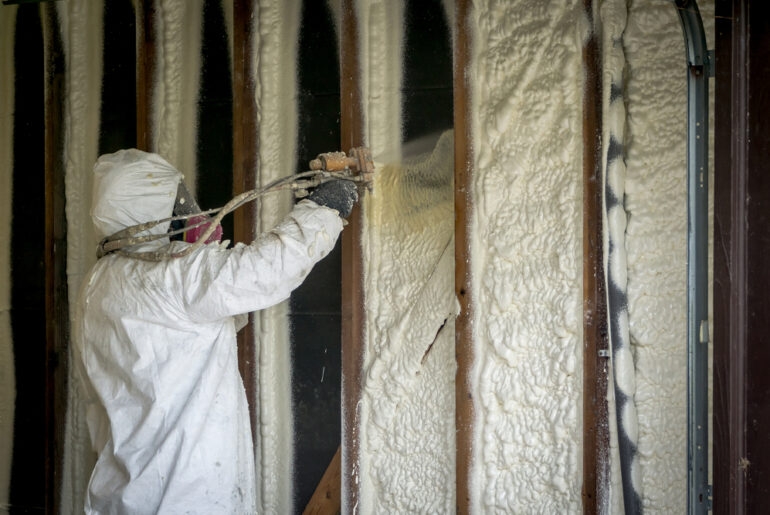
Step 4: Apply the Foam
Start by spraying the foam around the perimeter of the area. Then, fill in the middle. Make sure to apply an even layer of foam.
It’s best to spray in a constant stream to get an even application. If you stop spraying for 30 seconds, install a new tip on the gun. You can also clean it with acetone as an alternative. Otherwise, the foam will set inside the nozzle, clogging it.
Step 5: Let the Foam Cure
Leave the foam to dry and cure for at least 24 hours. Once it’s dry, you can trim off any excess foam with a utility knife.
Useful Tips
Here are some tips to make sure the installation goes smoothly:
- Wear a protective suit to protect your lungs, eyes, and skin from the chemicals in the spray foam.
- Have someone help you mix the contents of the drums together.
- Apply the foam on a warm day. The warmer it is, the faster the foam will expand.
- Do not spray a wet surface, as the foam won’t stick. Use a moisture meter to check the moisture level of the surface. It should not be more than 20%.
- Before putting the first tip on the gun and applying it on the surface, point the gun toward an empty box and pull the trigger. Let it go until both chemicals start coming out in an equal amount.
For more tips on installing spray foam insulation, read 11 Spray Foam Insulation Tips for DIY Homeowners.
Fiberglass Batts
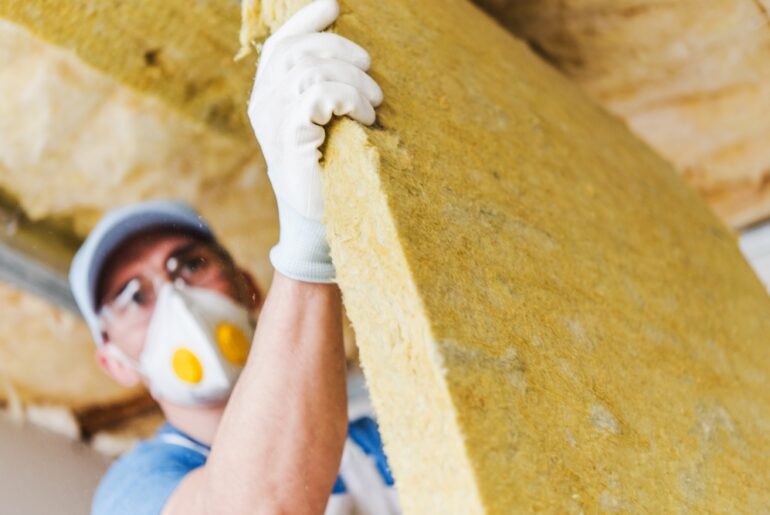
Besides spray foam, fiberglass batts are also a popular insulation material. These are ideal on roofs with limited space, such as attics. Fiberglass batts have an R-value of 31. to 3.4 per inch.
If you use loose-fill fiberglass, the R-value will be lower at 2.2 to 4.3 per inch.
Advantages
- Budget-Friendly: The lower cost makes fiberglass batts a popular choice for homeowners.
- Eco-Friendly: Since it’s made of glass, it can be recycled.
- Fire-Resistant: Fiberglass doesn’t burn and is an excellent fire retardant.
- Noise Reduction: Fiberglass insulation can help reduce noise from outside and inside the home.
Disadvantages
- Itchy: The itchy fibers in fiberglass can be irritating to the skin.
- Dangerous. Use safety gear such as gloves and masks. Avoid touching exposed fiberglass and don’t breathe fiberglass in.
- Requires Vapor Barrier: Most fiberglass batts come with a vapor barrier. If you’re using unfaced fiberglass, install a vapor barrier, otherwise, moisture can damage the insulation and promote mold growth.
Cost
On average, fiberglass batts cost $0.88 to $1.64 per square foot. If you need to cover a 500-square-foot roof underside, you can expect to spend anywhere from $440 to $600 on insulation.
Fiberglass Batts Application: Step-by-Step
Here’s a step-by-step process of installing fiberglass batts.
Step 1: Cut the Insulation
Start by cutting the insulation to fit the space. It’s important to get an accurate measurement to avoid gaps.
Step 2: Install the Vapor Barrier (If Using Unfaced Batts)
Install a vapor barrier before putting in the fiberglass batts. You can use construction adhesive or staple the vapor barrier in place. Typically, all fiberglass batts used for residential construction are faced. So, they have their own vapor barrier.
But if you’re using unfaced batts, you must replace the mounting tab with insulation wire hangers. Plus, you have to install a vapor barrier.
Step 3: Install the Fiberglass Batts
Fit the batts into the space and secure them in place. Use a stapler to attach the batts to the wood framing. You can also use stay wires to secure the insulation in place.
Step 4: Cover the Gaps
Use insulation tape or caulk to seal any gaps around the edges of the batts. It will prevent air and moisture from passing through. It’s better to use faced batts instead of their unfaced counterparts since they come with a vapor barrier and are more straightforward to work with.
Useful Tips
Follow these tips to ensure a successful installation:
- Wear gloves, long sleeves, and a dust mask to avoid itchiness and irritation.
- Install the vapor barrier before putting in the batts to prevent moisture damage.
- The shim space around doors and windows is where most air leakage occurs. So, seal these gaps with caulk or insulation tape.


