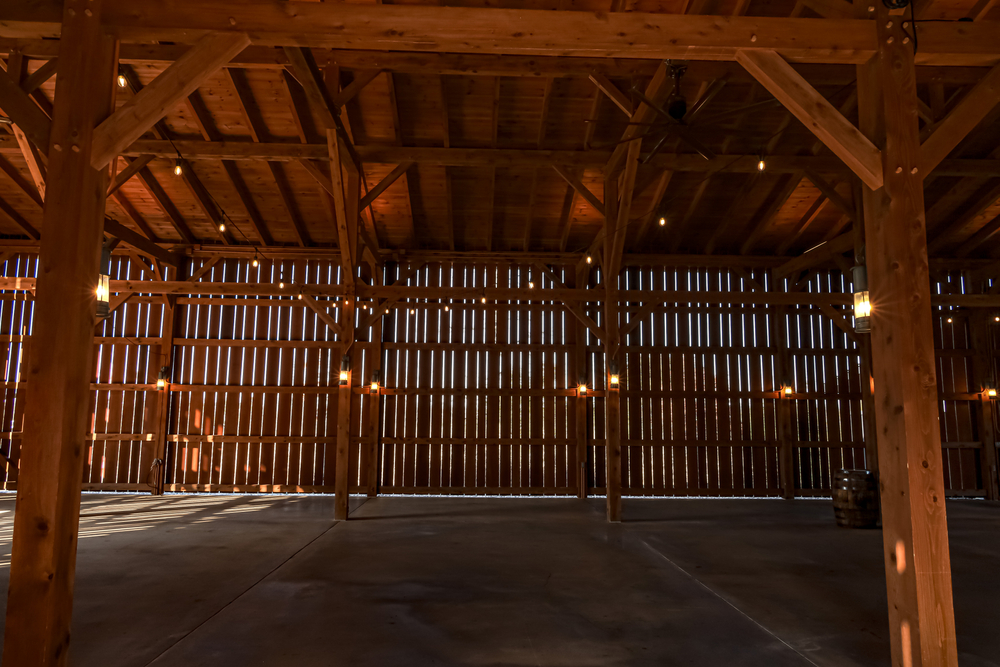
Pole barns are somewhat unique in that many do not include stud walls. Traditionally, stud walls are the mounting location for fiberglass batts, mineral wool, and rigid foam panels. As a result, pole barns are insulated differently than a standard house.
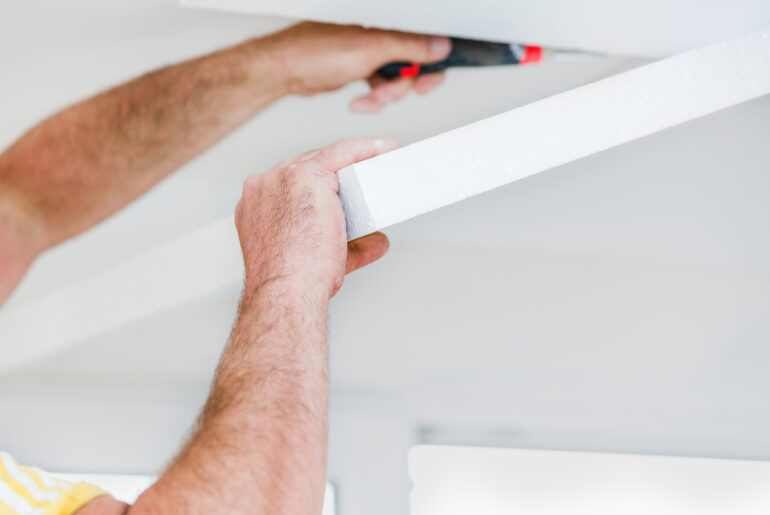
Pole barns are a great candidate for rigid foam insulation panels because the panels are lightweight, low cost, and often require no mechanical fasteners. Pole barns can be insulated with rigid foam panels using few tools and minimal training of the installer.
Here we will discuss the do-it-yourself method of insulating a pole barn with rigid foam insulation, including which tools and skills you will need.
Why Would I Use Rigid Foam Insulation In a Pole Barn?
Rigid foam insulation is relatively easy to modify, so structures like pole barns (which often contain little internal framing) include rigid foam insulation panels, which are glued to the interior wall surfaces.
Pole barns are so named because they don’t have a continuous foundation like a residential home. Most forms of insulation require some form of mechanical fastener like a staple or button cap nail. More fasteners usually means more work and tools, so avoiding them is preferred.
Since pole barns don’t generally have stud walls, some of the benefits of insulation like mineral wool and fiberglass batts are negated, because the material has to be trimmed anyway. Batts are handy because they are made for the space they occupy and are often pre-cut to length.
Few elements of a typical pole barn are consistent, so pre-cut materials really don’t improve the speed of installation. Rigid foam insulation is available in a wide range of materials, thicknesses (R value), and dimensions, so a well planned project may incorporate several different panels.
How Do I Insulate a Pole Barn With Rigid Foam Insulation?
The process of installing rigid foam insulation in a pole barn is fairly straightforward, so if you have experience working with caulk guns, measuring tapes, and utility blades, you can install rigid foam panels yourself.
1. Measure the Space
How do you determine how much rigid insulation your project will need? The first step is to measure the area to be insulated. Simply multiply the width of the area by the length. The product is measured in square increments, usually inches.
To illustrate, let’s imagine a pole barn wall 10’ high (120”) and 40’ long (480”). The product is 400 square feet if we multiply 40’ x 10’ = 400 sq.ft. If the panels are 2’ (24”) x 4’ (48”), then each panel provides 8 square feet of coverage.
If we divide the area (400 sq.ft.) by the area of each panel (8 sq. ft.), we see we will need 50 2’ x 4’ panels. However, this is a rough measurement because it includes no allowance for waste. A rule of thumb is to add 10% to 15% extra just in case.
In our example, you will need 58 total panels for this area of the pole barn wall: (50) panels + 15% (7.5 panels rounded up to 8.0) = 58 rigid foam insulation panels.
2. Cut the Panels
In most cases, you can glue the panels directly to the interior walls of the pole barn. However, some pole barns have interior stud walls for convenient separation of rooms and uses. Resist the temptation to adhere the rigid foam directly to the stud wall on both sides.
Installing the rigid panels to the face of the studs instead of between the studs will trap air inside the wall and make the walls unnecessarily thick. Cut the panels accurately to fit between any studs, floor joists, trusses, or rafters.
3. Apply the Adhesive
The downside to this insulation method is that the wall covering, be it T1-11 wood panels, OSB, or drywall must be installed on one side only. Rigid panels need something to adhere to, so since they don’t often include a mounting tab, they are glued to the wall covering.
After one side of the surface has a covering, the first rigid panel can be glued into place. Most pros use adhesives designed for the panel, so select the adhesive carefully. Make sure there is a ¼” bead within ½” of all the edges, but not past the edges. Doing so may cause squeeze out when the panels are pressed in.
The pattern doesn’t really matter unless the manufacturer specifies one. Just make sure there is sufficient adhesive to support the weight of the panel.
4. Place the Rigid Foam Panels
After the panel has been cut to fit and the adhesive applied, just press the panel into place against the covering. By the way, if you are applying rigid foam insulation panels to a ceiling, install the attic flooring first to provide a spot for the panels.
Rigid foam panels are not appropriate for insulating between floors because it would require the installation of a backer just to provide a mounting location for the panels and nothing else. If you want to insulate between floors, fiberglass batts or mineral wool is a better option.
5. Continue With Additional Layers
Most rigid foam insulation panels provide somewhere between R-2 and R-6 per inch, so you can add layers as needed to achieve a specific R value. Follow the directions on the adhesive for guidance on set time before adding additional panels.
If your desired thickness is close to the edge of the wall or ceiling, don’t add extra rigid foam panels. Never allow the panels to extend past the outer surface as this will prevent the wall covering from attaching securely to the surface.
If you just need increments of an inch to fill a void with rigid foam, leave the last layer off and instead seal the corners with expanding spray foam. You will save on materials and not accidentally cause a problem with the wall covering.

