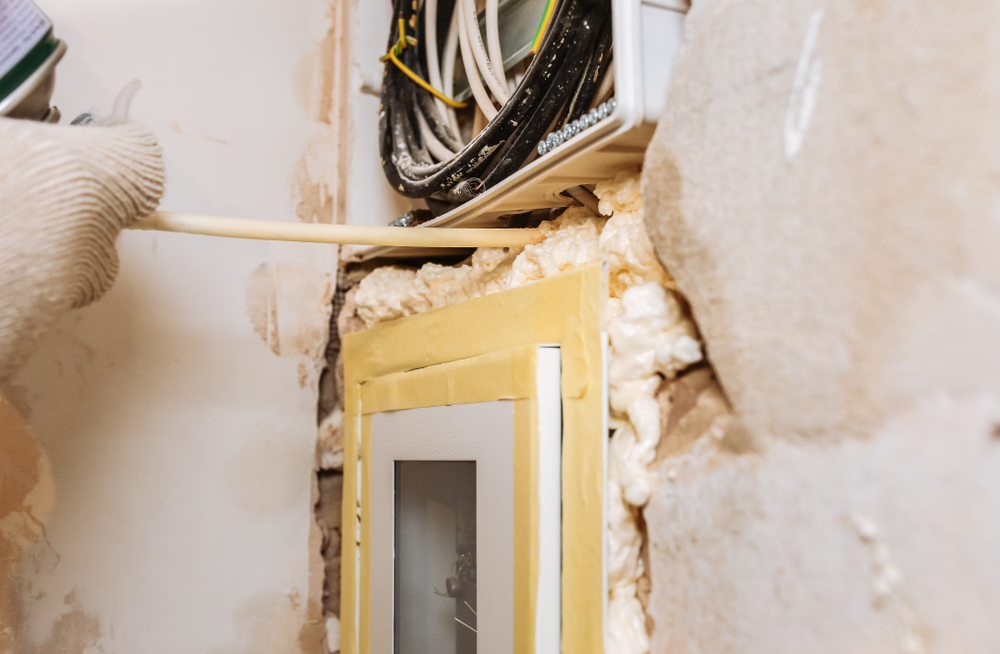
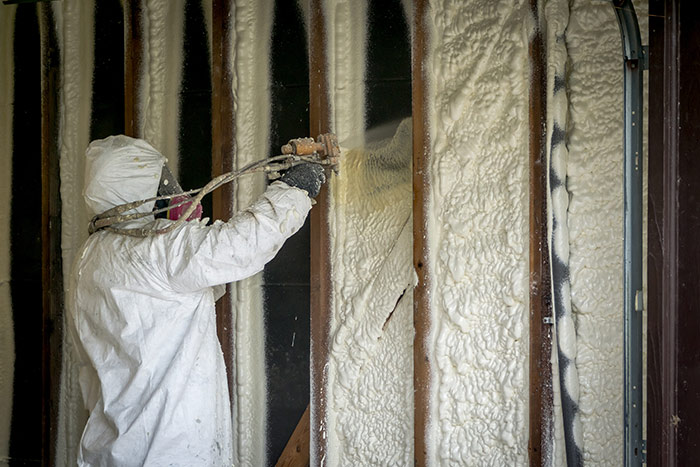
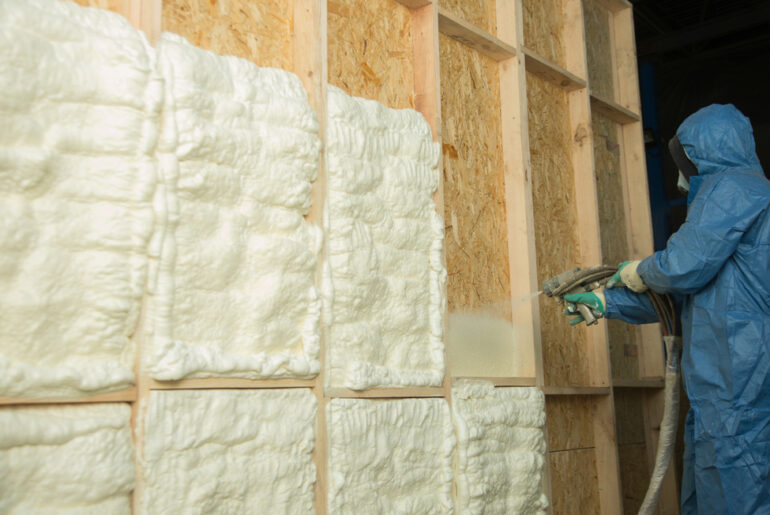
You can run wires through finished, or cured, spray foam insulation but sometimes it’s a tough job. Running wires through finished insulation often involves a flexible drill bit and drywall skills, but there are easier ways.
Finished spray foam insulation is similar in consistency to dirt, so using a fish tape usually doesn’t work. Depending on where the new wiring will be needed, pros have developed other techniques to reduce the demotion and repair.
Here we will describe the process of running wires through finished spray foam when required, although the process should be avoided when possible. We will also offer a few tips the pros use to avoid running wires through finished spray foam, and why other options are often easier.
Can You Run Wire Through Spray Foam?
Wires and small pipes (like for an icemaker) can be run through finished spray foam, but you will need a few tools. Generally, wires run either horizontally through walls, floors, and ceilings, or vertically inside the cavity between them.
Always avoid running wires through framing members whenever possible. Running wires through the wood reduces its strength and places the wire within reach of a screw or nail. The best option when running wire through finished spray foam is to run the wire parallel to the framing regardless of where the wire is located.
The National Electrical Code (NEC) requires provisions for wiring that will be located close to the surface, requiring conduit in some cases. In these instances the foam will not be an obstacle because the conduit will provide the space for the new wire, assuming the conduit was properly sized.
How to Properly Run Wire Through Finished Spray Foam Insulation
Here we will describe the process of running wires through the framing horizontally and parallel to the framing, or vertically. We will also describe optional methods of running new wires that avoid disturbing the spray foam.
To keep things simple, we will use the same example with each method to illustrate each method’s particular pros and cons. We’ll assume a wall with an outlet about 16” -20” from the floor, which is standard. You want to add a new outlet for a wall mounted television 6’ to the right and 60” higher than the existing outlet.
Method 1. Running Wires Horizontally Through Finished Spray Foam
Running wires horizontally through finished spray foam is the most difficult option, but it is possible with a flexible drill bit, also known as a diverse-a-bit. These drill bits are extremely long (some are up to 10’ in length) and incorporate a fiberglass shaft attached to a steel drill bit.
Step 1. Disconnect the Power
The first step in any electrical project is to disconnect the power by removing the fuse (old technology), or turning off the circuit breaker in the panel. Use a circuit detector like this one to double check that the power has been disconnected.
Step 2. Cut the Hole For the New Outlet
Next, mark and cut the hole for the new outlet using a drywall knife, rotary tool, or keyhole saw. Be mindful of any coaxial cables or network cabling that may have been pre-run to the location. Now you can determine the shortest path from the old outlet to the new one.
Step 3. Drill Through the Wall Studs
Using a power drill, insert the bit into the new outlet hole and point it towards the old outlet. Drill the first hole in the nearest wall stud and continue until you reach a location directly above the old outlet.
The drill bit will flex as it turns allowing the bit to remain straight. Reverse the bit occasionally to disburse the wood shavings and finished spray foam debris from each hole.
Step 4. Cut the Hole For a New Junction Box
Remove the old outlet and the outlet box from the wall. Usually the easiest method is to use a small pry bar to detach the box from the stud by loosening the nails. You can also use a metal cutting blade on a reciprocating saw and cut the nails in half.
After the box has been removed you can retrieve the flexible bit from the horizontal hole. Perform the same process to drill the vertical hole making sure both holes intersect at a 90 degree angle to each other. Mark the location of the intersection on the wall and cut a hole for a new junction box like this one.
Step 5. Install the Pull String Through the Wall Studs
You will need two lengths of wire. First measure the distance from the new outlet hole to the new junction box hole and cut a piece of wire to span the distance, adding about 12” to the measurement.
Attach a length of mason’s line or other durable string to the flexible shaft just behind the drill bit with tape. Slowly push the drill bit back through the hole, turning the bit as needed to overcome the friction. After reaching the junction box hole, detach the string and remove the flexible bit.
Repeat the process for the vertical wire between the old outlet hole and the new junction box hole. At this point you should have a pull string from the old outlet hole to the new junction box hole and another between the new junction box hole and the new outlet hole.
Step 6. Run the Wires and Make the Connections
Using the pull strings (or fish tape), pull the new wires between the boxes and make the connections. Avoid using electrical tape to secure the wires. Use appropriately sized wire nuts or copper crimp connections per the electrical codes in your area.
Lastly, install the new outlets and test connectivity before turning the circuit back on. If all tests are ok, use a solid outlet cover box like this one to cover the junction box.
Method 2. Running Wires Parallel to the Framing
Running wires parallel to the framing is much easier than running the wires horizontally. Spray foam insulation is not directional, so it is not more difficult to drill in one direction than the other.
To run a wire through finished spray foam vertically, follow the process outlined above for vertical wiring. This method is ideal when the existing outlet is located in the same wall void as the new outlet.
Method 3. Installing a New Outlet, Switch, Or Subpanel
You can use the flexible bit method to install a switch, outlet, junction box or subpanel. Note that as the power demand goes up, the wire must be sized accordingly. In these situations you may need a few different sized flexible bits to accommodate the diameter of the wire.
Method 4. Installing Raceway
Sometimes wires should not be run within the wall to a desired location. Gas lines, other wires, pipes, ductwork, and light fixtures can create obstacles that prevent wiring from running through the wall.
Raceway is the next best option when wiring inside a wall is not possible or feasible. Raceway is a two part plastic track designed to hold various wire gauges. First the bottom track is installed on the wall with double stick tape or screws.
The wire is then laid flat inside the track and covered by the second part of the raceway, the cap. Raceway can be painted to help it blend into the wall color and may contain any number of joints. Raceway also provides future access to the wiring without repainting or finishing.
Method 5. Installing Exterior Conduit
Sometimes the shortest distance between two points requires that the circuit pass through finished spray foam over a distance too long for a flexible bit. If the process is not feasible, you can use exterior conduit instead of drilling through the finished spray foam.
Usually, only exterior walls will contain finished spray foam, so you can drill a hole through the wall instead of the foam and run the wire externally between floors. Professionals use this method sparingly, as the conduit is typically visible.
Pros will also include a pull string as they assemble the conduit, making installing the wire much easier. Conduit can also be painted to match the exterior color or colored aluminum flashing can be installed to protect the conduit.
Method 6. Using the Baseboard Instead of a Junction Box
If you need to run a wire horizontally across a wall but no outlet or switch is being added, you can use the space behind the baseboard to hide the wire. Using our previous example, instead of drilling the horizontal hole, you will instead drill two vertical holes from the baseboard directly vertical to the outlet box holes.
Step 1. Using a utility knife and small trim pry bar carefully remove any baseboard between the two locations. Drill a vertical hole downward from the old location towards the baseboards and repeat for the new location. Using a sharp blade, remove an inch or so of the drywall and finished spray foam behind the baseboard to create a channel for the new wire.
Step 2. Cut a single piece of wire long enough to reach both outlet boxes. Starting at either end, fish the wire vertically from each box and horizontally behind the baseboard using the channel created in the drywall and the finished spray foam.
Will Finished Spray Foam Insulation Affect Electrical Wiring?
Generally, it is ok to cover jacketed wires with finished, or cured, spray foam insulation. The common fear of using spray foam over jacketed wiring (romex) is that the spray foam will cause the wire to overheat and ignite. However, insulating jacketed wires will not typically cause the foam nor the wire to burn.
Jacketed wires should be sized so that the wires generate an insignificant amount of heat from the wire itself. Generally, if a wire becomes hot enough to ignite the jacket the circuit breaker (especially arc fault and ground fault circuit breakers) will have already tripped, opening the circuit.
If you discover wires that are warm to the touch, stop immediately and consult a licensed electrician. Warm wires are the result of too much voltage and current being applied to the wire. The heat is the wire’s way of dissipating the extra energy, so you wouldn’t want to trap that heat by covering it with spray foam.
Where Should Spray Foam Not Be Used Near Wiring?
Junction boxes, fixture boxes, recessed can lighting, and subpanels require future access so they cannot be covered. Regardless of where the junction is, be it an attic, wall, floor, or ceiling, the access must not be covered or blocked by spray foam.
However, avoid intentionally spraying single conductors to avoid creating a double insulation effect. Individual conductors are designed to dissipate the small amount of heat the wires emit when they are charged.
Single conductors may overheat if spray foam prevents the wire from dissipating the heat, tripping the circuit. If finished spray foam is a hazard to any nearby single conductors the conductors should be installed in conduit.
Can I Use Spray Foam On Conduit?
When conduit is installed and protecting the wire you can usually insulate the conduit without affecting the wiring inside. Conduit should be sized to create a minimum 50% air space inside the conduit, which will allow any heat emitted by the wire to dissipate.
Generally, there is no benefit to insulating wires with spray foam so it should be avoided whenever possible. However, if finished spray foam contacts a small section of a larger wire it should not cause a double insulation effect and create a fire hazard.
How to Properly Run/Fish Wires Through Spray Foam Insulation
If you have the option it’s easier to install the wiring first, then the spray foam. Be sure to follow any required setback for the wiring from the surface. If the wall is built from 2” x 4” studs, the minimum setback is usually 1 ½”, which essentially places the wire in the center of the stud.
If you have a large section of finished spray foam you must remove, you can use a sharp serrated blade to cut it away. If you need to completely clean the surface, use a rag and acetone based cleaner like this one to dissolve any remaining finished spray foam.


