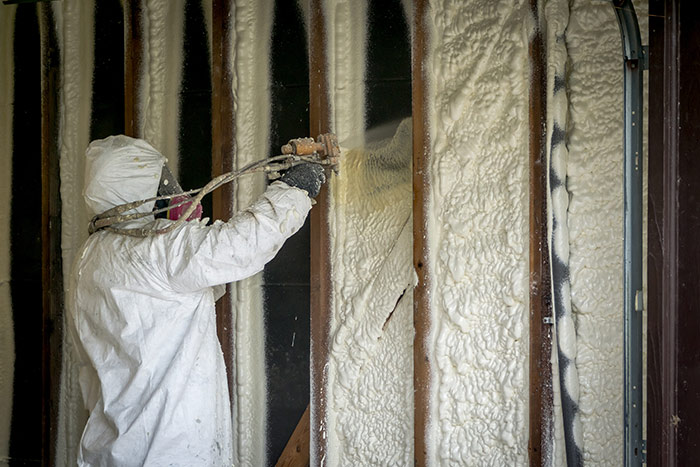
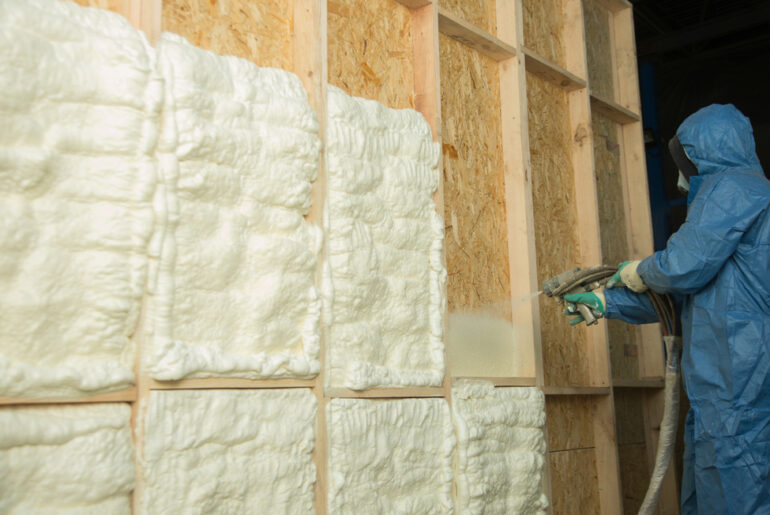
You’ve sprung a leak! Leaking water is not a good sign for any home, and water damage can have serious negative effects on your health or personal belongings. How can you fix this leak?
Spray foam is a cheap and effective way to fix small leaks under the right circumstances. Ideally, you should catch leaks as early as possible, preferably before they open up to take advantage of spray foam’s full efficiency.
What do you need to watch out for when applying spray foam to a water leak? How can you optimize the situation to work in your favor? What kind of spray foam should you use?
Read on to learn everything that you need to know about fixing water leaks with spray foam. Those pesty leaks will go away in no time!
Can Spray Foam Help With Leaks At All?
Yes, spray foam can help with your water leaks.
Expanding spray foam is not waterproof, but it is water-resistant. If it doesn’t fix your leak entirely, spray foam will buy you enough time to find a more permanent solution without suffering catastrophic water damage.
Ideally, you want a high-density closed-cell spray foam for true waterproofing. However, most canned varieties are medium-density.
What Kind of Leaks Can Be Fixed With Spray Foam?
Spray foam is a versatile tool. You can use spray foam to fix leaks anywhere in your house, from your basement to your bathroom, attic, or roof leaks.
However, spray foam is at its most efficient when used in a small location, such as a hairline crack. Spray foam expands exponentially, but larger applications will not anchor as securely due to increased amounts of water and associated water pressures.
How to Properly Apply Spray Foam To Fix Water Leaks
What Tools Do I Need To Fix Leaks With Spray Foam?
Fixing leaks with spray foam is relatively easy and does not require many tools. The only specialized equipment you will need is the spray foam itself.
Here are some of the tools you will need for an advanced leak fix:
- Spray foam
- Putty knife
- Utility knife
- Sandpaper and/or a rasp
- Your preferred finish (paint, wood paneling, wallpaper, etc)
These materials will help you navigate most leaks in your home, but are best for flat surfaces, such as interior walls and cracks in concrete.
If you are dealing with a leak in a pipe, you should be prepared to spend more time with your sandpaper and rasp making sure that the surfaces are flush with each other.
1. Ventilate The Area
The first thing you will want to do when working with spray foam is to ventilate the immediate area.
In this case, ventilation accomplishes two things:
- Ventilation helps remove excess humidity that has built up in the leak area
- Ventilation helps remove the toxins produced by spray foam’s off-gassing
Whether it means opening a window, turning on a dehumidifier, or turning on a ceiling or standing fan, you must keep your workplace well-ventilated.
2. Apply Your PPE
Whenever you work with spray foam, you must apply personal protective equipment, also known as PPE.
Typically, when fixing small leaks, you will use a small can of spray foam rather than a large insulator kit.
In these scenarios, your PPE will consist of eye protection, gloves, and facial protection. In particularly well-ventilated areas, a simple face mask may suffice, but consider using a respirator anyway.
By wearing your PPE, you minimize or negate the effects of the toxic gasses that spray foams emit while curing while protecting your eyes and skin.
3. Dry Your Leak As Much As Possible
Using a towel, dry the area of the leak as much as you can.
If possible, you can use a hair dryer to speed up the process, but you must ensure that neither it nor its electrical outlet comes in contact with any humidity.
If you can, let the area dry for around 24 hours so the spray foam can attach properly. If the leak gets damp within 24 hours, simply advance to the next step, there is not much else you can do.
4. Add Light Layers Of Foam
Spray a light layer of foam on any applicable area, especially if the leak is via a smaller crack. Use your putty knife to smooth the foam and spread it over any extra cracks and leaks.
If you spot an area that looks like it may become a leak later, do not be afraid to add some spray foam there as well.
Once you have gotten sufficient coverage over your leak, let the spray foam cure for upward of 24 hours.
5. Remove Excess Foam
Once your spray foam has cured, you can leave it there in its expanded state. Alternatively, you can cover it up with your preferred wall, floor, or ceiling decoration.
Use a utility knife to cut off as much excess foam as possible and use a sheet of sandpaper, or a rasp, to sand the foam down until it is flush with your surface.
Once you have filed the foam flush with its surface, you can apply your preferred finish, whether it’s paint, wood stain, wallpaper, or tile.
Can Spray Foam Be Used On Damp and Wet Surfaces?
Spray foam is not ideal on damp surfaces. Trace amounts of water, such as light misting, can help your spray foam adhere to a surface, but anything more than that can hinder it. If the spray foam does adhere, the surface will retain water and rot through.
Spray foam will not adhere to outright wet surfaces. You must dry any applicable surface as much as possible before applying spray foam.
Can Spray Foam Be Applied In Super Humid Environments?
Certain water-resistant varieties of spray foam are viable for use in notably humid environments, but you should avoid humidity as much as possible.
When applied to vapor-impermeable surfaces, water can build up between the spray foam and the surface, damaging either one or both.
Will Spray Foam Work Underwater?
Unfortunately, no. Spray foam will not work underwater, regardless of what material a leak has appeared in. If you’re trying to use spray foam in an already-flooded environment, you will see no results; you must catch a leak relatively early.
If you spray foam underwater, it will simply float to the surface. Spray foam may be significantly water-resistant, but it is buoyant.


