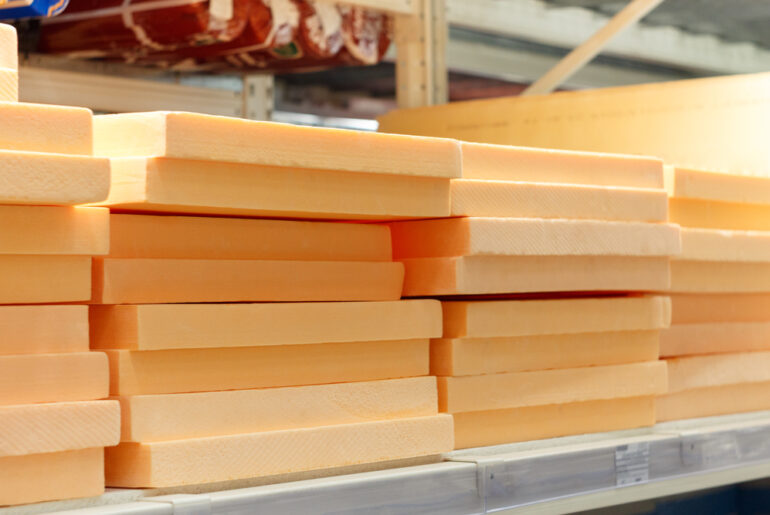
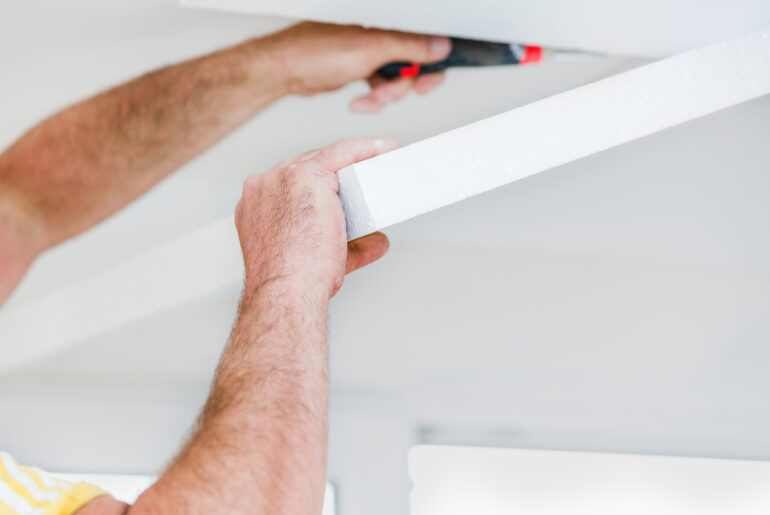
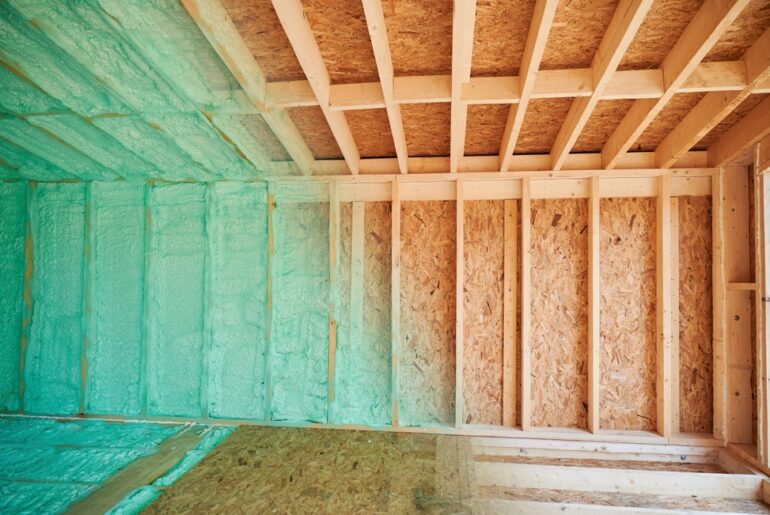
Rigid foam insulation is a great option for insulating an interior wall because it is effective, inexpensive, and easy to install. Rigid foam insulation isn’t installed so much on an interior wall as in the interior wall.
Rigid foam insulation is mounted between the studs that make up the wall and are often glued in place. Rigid foam insulation is a good soundproofing material and an effective thermal insulator when required.
Most interior walls are not insulated because they are all in the same thermal envelope. A thermal envelope is the space within a home that is heated and/or cooled and will include all living spaces.
However, sometimes insulating an interior wall is useful, like to control loud sounds from a neighboring room. Interior wall insulation is also useful for keeping some rooms a different temperature than others, although this only applies if the rooms have individual heat sources.
Here we will discuss the benefits and installation method for using rigid foam insulation in an interior wall. The process may require a few different tools, depending on the wall.
Why Would I Insulate An Interior Wall With Rigid Foam Insulation?
Rigid foam insulation is a handy size and weight for insulating an interior wall because it can be applied in layers by one person. The other most common interior wall insulation would be fiberglass batts, but they are a little tougher to work with.
Installing fiberglass batts is the traditional way to insulate an interior stud wall because there is no need for drywall first. Batts can be stapled to any wooden stud wall whether only one side has drywall, or neither. Builders use fiberglass batts because they are fast, inexpensive, and effective.
However, fiberglass batts require a fastener, which is often a staple. Mechanical fasteners add additional steps to insulation projects, so rigid foam insulation is usually faster. Rigid foam insulation is also easier to control because batts are designed for a certain R value. Rigid foam insulation is installed in layers, giving you more control over the insulation value.
Why Can’t I Just Attach Rigid Foam Insulation On the Outside Of An Interior Wall?
There are a couple of reasons why you shouldn’t attach rigid foam insulation directly over the studs in an interior wall:
The Fasteners Will Be Too Long
Rigid foam insulation is available from ½” thicknesses to several inches. Any mechanical fastener would need to be long enough to pass through the entire panel and still penetrate the wall stud. The added length would make the fasteners very weak and unreliable.
In addition, keeping the fasteners straight enough to pierce the stud would be very difficult and an attempt will likely result in bent fasteners.
Most rigid foam is installed with adhesives, which in theory, eliminates the need for fasteners. However, even surface mounted rigid foam attached to the outside of the stud wall will cause the second problem, which is trapping air.
To be clear, trapped air is normally a good thing, especially when describing a double paned window. Air is a great thermal insulator, which prevents heat from moving through materials. But for sound insulation, the waves will travel on the air trapped inside the wall.
Sound deadening removes the air and replaces it with a solid material that will not transmit the waves. Rigid foam can also be installed in layers with sound absorbing bushings. Bushings reduce even more sound transmittance by reducing the physical contact between the panels. Impact noises are greatly reduced because the sound waves are absorbed instead of reflected.
The Rigid Foam Will Trap Air Inside the Wall
Since this can be confusing, we’ll provide a few more details. When most homeowners insulate a wall they are trying to prevent heat from entering or escaping. However, this doesn’t usually apply to an interior wall because both sides of the wall are heated with the same HVAC system.
When an interior wall is insulated, it’s often as an acoustic treatment to reduce loud sounds from penetrating an adjacent wall. A common location for rigid foam is the interior wall between a playroom or home theater and an adjacent bedroom.
If you just tack rigid foam to the wall, it will trap an air pocket the same dimensions as the space it covers. Sound travels very efficiently through air, so trapping air between the panels on either side of the stud because air may actually amplify the sound instead of muffling it.
Ironically, trapped air is also beneficial to sound deadening, but there must be materials between the pockets of air to absorb the sound waves. In fact, insulation owes its R value to these air pockets.
As the sound waves travel on the air pockets within the insulation, they bounce off the tiny fibers in all directions. Because the insulation is so dense, the sound waves become so disrupted they can no longer travel freely and dissipate.
How Do I Use Rigid Foam Boards to Insulate an Interior Wall?
Using rigid foam insulation inside an interior wall is a cost effective acoustic sound treatment that is easy to install and works every time. The process requires only a few hand tools and standard safety gear, like eye protection.
1. Measure the Space Inside Between the Studs
Remember that the rigid foam goes between the studs. The space is probably 14 ½” wide, but it may be narrower for 12” patterns (10 ½”) or wider (22 ½”) for 24” patterns. If the stud spacing is consistent, you can save time by cutting several panels at once.
2. Cut the Rigid Foam Panels
Depending on the thickness of your panels, you may be able to use a long blade serrated knife to cut more than one at a time. The job is much cleaner and tighter if all the panels are identical, so this method is preferred if possible.
Most pros use a drywall square as a straightedge because it allows the panel to be cut in one pass. The easiest way to install the panels is one at a time. This allows you to trim each layer as needed for a snug fit.
3. Glue In the Rigid Foam
Obviously, you will start on the side of the wall that doesn’t have drywall yet, but the other side of the wall will need it as well. You will need something to adhere the first panel to, which is normally the backside of the drywall on the other side of the wall.
Most pros use an adhesive like this one because it has quick holding power and will not damage the rigid foam. Cut the tip to the ¼” mark and pierce the inner seal. Apply a bead of adhesive no closer than ½” from the edge to avoid push out of the adhesive.
Follow the directions for your adhesive, but most will require beads about 6” apart for the entire panel. Press the panel firmly into place, but avoid pushing out the adhesive. Once the last panel is in, apply a bead of low rise expanding spray foam around the perimeter to close any gaps.
Most adhesives provide holding power in under an hour, but check the label. After the first panel is installed, continue down the wall installing one panel. If you want another layer, wait until the curing time has elapsed, which is usually 2-24 hours.
Are There Alternate Ways to Install Rigid Foam Insulation?
There are other products and methods available to help absorb sound using rigid foam insulation. You can use acoustic caulk and bushings to provide additional sound deadening. Bushings like these prevent sound from traveling from panel to panel via contact.
Another option is acoustic caulk. These caulks prevent the panels from conducting sound, minimizing the physical contact between them. The bead stays pliable forever, so it absorbs the sound waves instead of reflecting them back into the panels.


