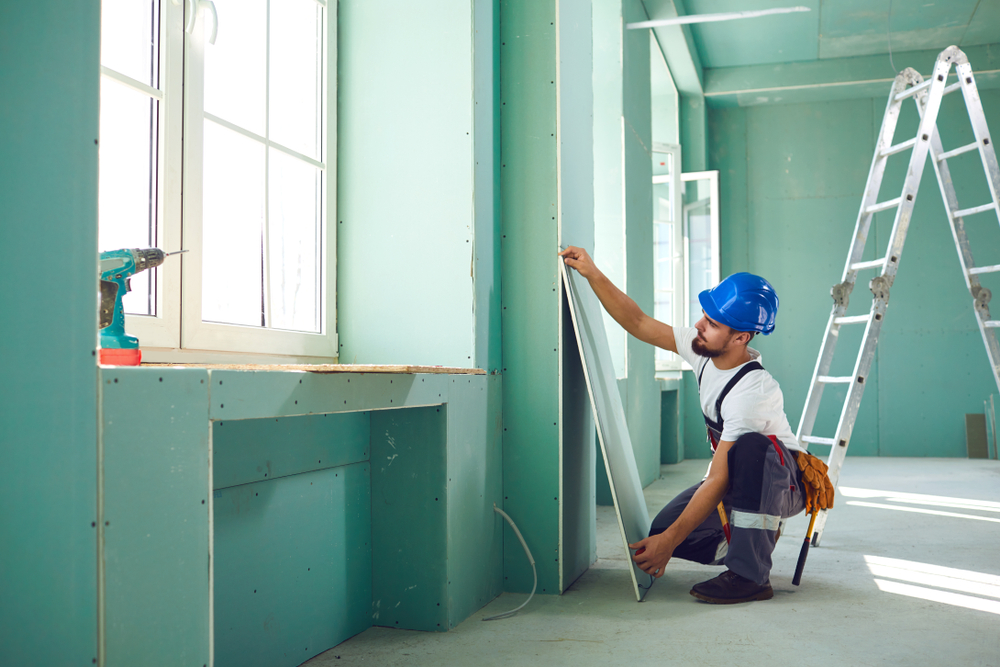
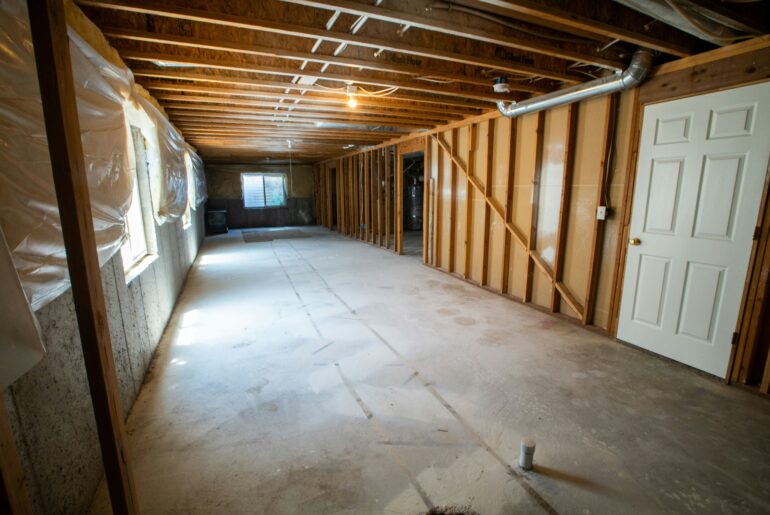
Occasionally, walls are constructed without insulation and then drywalled over, posing a problem for the current owner. Uninsulated walls inside a conditioned living space waste energy and can result in unnecessarily high energy bills.
Generally, builders are not required to provide wall insulation unless the space will be occupied. Storage sheds, detached garages, and greenhouses are not typically insulated because the contents will not house people, just stuff.
However, structures are not always used for the purpose they were designed for. Often, homeowners convert garage lofts and other buildings into accessory dwelling units, also known as ADUs.
Converting a storage space into a living space requires appropriate insulation and other updates to make the structure safe to occupy. Adding insulation can be a hassle when the drywall is already installed, so here we will discuss a few ways to insulate walls without removing the drywall.
Can You Insulate Walls Without Tearing Down Existing Drywall?
You can add some forms of insulation behind drywall without removing the drywall entirely. Most insulating contractors prefer to use blown insulation or expanding spray foam in these situations.
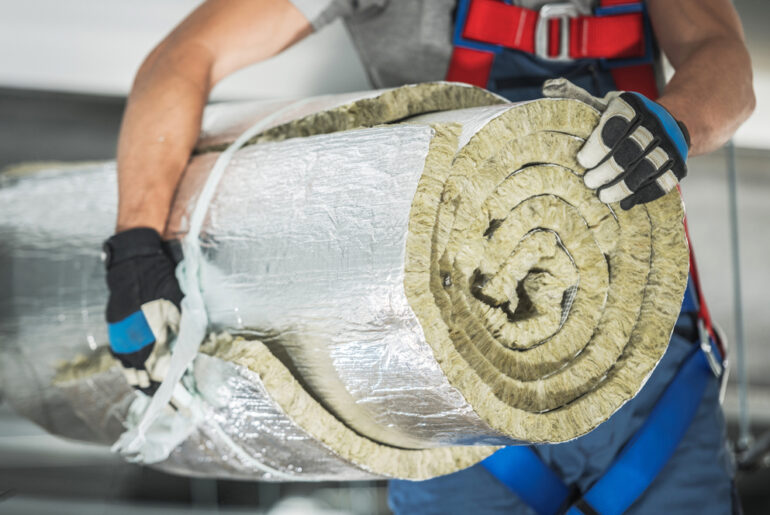
Insulating with fiberglass batts is not recommended after the drywall is installed because the batts should be attached to the wall studs. If the batting is just stuffed into a small access hole in the drywall, the batting will likely be compacted, negating much of the insulating function.
How To Insulate Interior Walls That Are Already Drywalled
In one-level homes, blown-in wall insulation can be installed from the attic or through a small access hole in the drywall. The preferred method is usually from the attic because the access hole does not have to be finished like a hole in drywall would be.
Here is the step-by-step process most professionals use when installing insulation in a wall with drywall.
Step 1. Drill the Access Hole
The walls in most residential homes are built from 2” x 4” lumber, known as studs. The insulation goes in the empty space between the studs, which is usually 14 ½” wide. To access the wall void, a hole is drilled in the top of the wall using a 2”- 2 ½” hole saw.
The top of the wall, known as the top plate, consists of two 2” x 4” boards nailed to each other and every stud for strength. You will have to drill through both top plates to access the wall void, so you will have to drill the uppermost plate first, and then the second.
A faster option is to completely remove the uppermost top plate and then cut the holes. If there is plenty of space in the attic, this method speeds up the process. However, if accessing the top plate is difficult, it’s usually easier to cut the hole in both top plates.
Be careful not to hit a nail with your holesaw. Large holesaws are not cheap and most can be easily ruined after contacting a nail or screw. After you cut the holes, keep the wood circle you removed. Often these can be glued back into the hole, making the job a little easier to complete.
Step 2. Insert the Hose
Most insulation hoppers (the machine that pumps the insulation) come with a 50’ hose attached to the hopper. The tip of the hose is fitted with a rubber sleeve about 2” in diameter, which is directed into the hole made with the hole saw.
Step 3. Fill in the Void
You don’t have to worry about overfilling the void. Just pump the insulation into the void until it reaches the top of the hole. Don’t try to stuff in extra insulation, however. Blown insulation should remain fluffy and uncompacted.
Perhaps surprisingly, it isn’t so much the insulation that provides the benefit, but the air trapped inside the insulation when you pump it in. Stuffing more insulation into the void pushes out the air, negating some of the benefit.
You will need to repeat this process for every void. In most homes, the studs will be on either 16” or 24” centers. After you make the first hole, you can measure 16” or 24” in either direction to find another void to fill.
Step 4. Replace the Plugs
After you have filled all of the voids, you can replace the plug made by the holesaw. Most pros just put a little wood glue around the plug and place it back into the hole. If the plug wants to fall into the void, use construction adhesive instead of wood glue.
Step 5. Add a Top Plate
Cutting the holes into the top plate will weaken the wall, so you need to add another one for strength. After returning the plugs to their place, just nail another 2” x 4” on top.
However, be careful to stagger the joints. If you allow two joints in the same place, it may allow the wall to flex and cause a crack in the drywall. The easiest way to add the plate is to measure the existing plate and make another one.
For example, if the existing plate is 10’ long, cut the new plate 8’ or 12’ long, depending on any obstacles you may encounter, like a plumbing vent. By adding or removing 2’, you ensure the joints cannot overlap.
Are There Other Wall Insulation Options?
Drywall Access Hole
Another option for insulating a wall with drywall involves cutting an access hole in the drywall instead of the top plates of the wall.
Pro:
- Cutting the access holes in drywall are much easier than cutting the holes in the top plates because you don’t have to get in the attic.
Cons:
- The access hole you make in the drywall will prevent you from completely filling the void because it will spill out of the hole.
- You will have to repair the drywall, which can add days to the project.
- You will also have to repaint the wall.
Insulating From the Exterior
Another method for insulating without removing drywall involves making the access hole from the outside. If your home has aluminum or vinyl siding, it might be easier to just remove a course of siding and cut the access hole behind it.
Installing the insulation from the outside is usually done on one-level homes. Accessing the exterior walls on upper floors can add more labor than it saves because ladders, walkboards, or lifts are often required.
Pros:
- The access hole is covered by the reinstallation of the siding
- Removing the siding is fast and simple with common tools
- Keeps the mess outdoors
Cons:
- Generally, this method uses expanding spray foam insulation, so options may be limited
- If the home has housewrap, it will need to be repaired after making the access hole
- Upper levels are more easily accessed from the attic or from indoors
You can also use this method if the home has brick or stucco. If the home has a brick exterior, professionals will often drill a small hole in the mortar between the bricks. Using a hopper with a very small tip, the insulation is directed into the void.
Generally, this method only works when using expanding spray foam insulation, so options can be limited. After the insulation is installed, the access holes are repaired using new mortar or some form of sealant, like color matched exterior grade caulk.
Stucco walls can also be insulated in this method. After the insulation is pumped into the void, the access hole is repaired in a similar way to brick. Most professionals use a stucco repair kit. Stucco repair kits include a fiberglass material that can be molded to match the texture of the stucco.
However, the material in a stucco repair kit is usually white or light gray, so if the home is some other color, a powdered colorant is added to the material. Measure both the fiberglass, hardener, and color precisely, because once you find the correct shade you’ll want to be able to do it again.
Frequently Asked Questions
Do I Have To Tear Down Walls To Insulate A House?
Using the methods described here, you do not have to tear down walls or remove drywall to add insulation. You can use cellulose, fiberglass, or expanding spray foam and using an access hole, pump the insulation into the wall.
What Is The Best Way To Insulate An Already Finished Wall?
In most situations, pumping blown fiberglass or cellulose into the wall will be the most effective. In fact, this method will work regardless of the wall covering. If the walls are covered with something other than drywall, the process remains the same.
For example, some homes have no drywall at all. Some homes use wallboard, paneling, or other sheet materials. Accessing the wall void from the attic or outdoors will also avoid the need for access holes that must later be repaired.

