If you’ve scratched your head trying to figure out how to insulate a chimney, you are not alone. Chimneys are notorious for leaking both water and air, depending on how your chimney was constructed.
Chimneys are not always built from bricks or other masonry. Many (if not most) chimneys built in modern construction have no masonry at all. Many homeowners burn natural gas or liquid propane in their fireplaces using a wood framed chimney and metal flue pipe.
Insulating a chimney is not as difficult as it may sound. Many do-it-yourselfers are fearful of installing the wrong insulation or installing it in such a way as to start a fire. Today we will discuss the most common ways professionals insulate a chimney safely, and how.
Can You Insulate a Chimney?
The goal is to shield any combustible insulation materials from the heat rising through the chimney. Materials like fiberglass, rock wool, ceramic, and spray foam can be used depending on the location and design of the chimney.
Ideally, you’ll want to prevent both drafts and thermal transfer. Thermal transfer happens when heat (or cold) radiates from the chimney through the interior walls and into the home. You can control both problems by installing insulation and sealing air gaps around the chimney.
Why Would You Insulate Chimney?
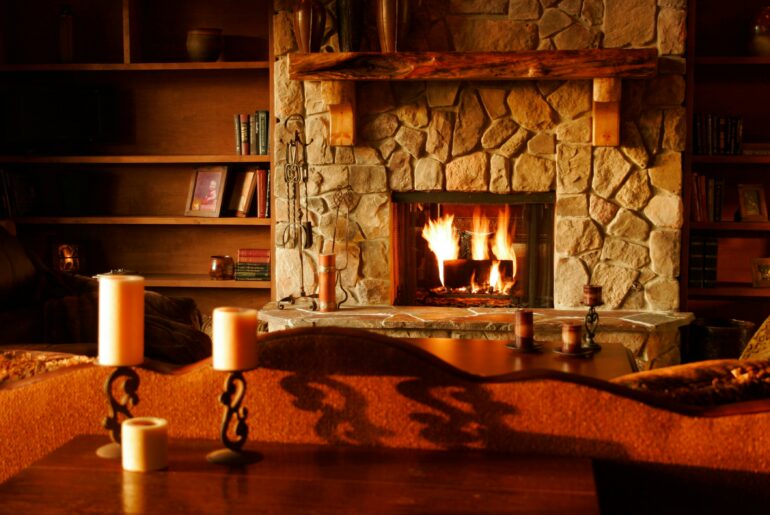
Insulating a chimney will often save the homeowner money by preventing conditioned air from escaping to the outdoors. Interestingly, many homeowners believe using a fireplace for heat will reduce their utility bills. In reality, many fireplaces actually lose as much heat as they produce.
Insulating a chimney will help to:
- Keep adjacent rooms more comfortable
- Prevent condensation
- Provide sound deadening
- Reduce cold spots
- Prevent inside air from escaping through an unused chimney
Insulating a chimney provides a barrier between hot and cold air so that the heat from the fireplace does not warm any rooms the chimney passes through.
Options for an Unused Chimney
Some homes have chimneys that are part of the design, but go unused. If your fireplace or stove is not being used, you can plug it up and stop it from drafting air from the interior. All fireplaces will have a damper, which is a metal door between the chimney and the fireplace.
Simply closing the damper will block most of the air, but not all of it. A good way to seal the damper is with fiberglass or rockwool, ceramic insulation, or a chimney plug. Simply stuff the insulation or plug into the damper and seal it with a bead of fire retardant caulk.
Other products, like chimney balloons, seal off the chimney and add insulation at the same time. Chimney balloons are made of tough plastic and inflated by just blowing into it. The chimney balloon inflates in place, contouring to the inside of the chimney, and acts as a chimney plug.
However, don’t forget the insulation or balloon in the chimney and light a fire. Lock the damper handle closed and label it so it cannot be accidentally opened.
What is the Difference Between a Chimney and a Flue (Stove Pipe)?
Chimneys and flues (also known as a stove pipe) can be confused with each other. The flue will be located inside the chimney and prevent the chimney from overheating. The chimney will surround the flue and provide an air space that prevents the flue from touching the chimney.
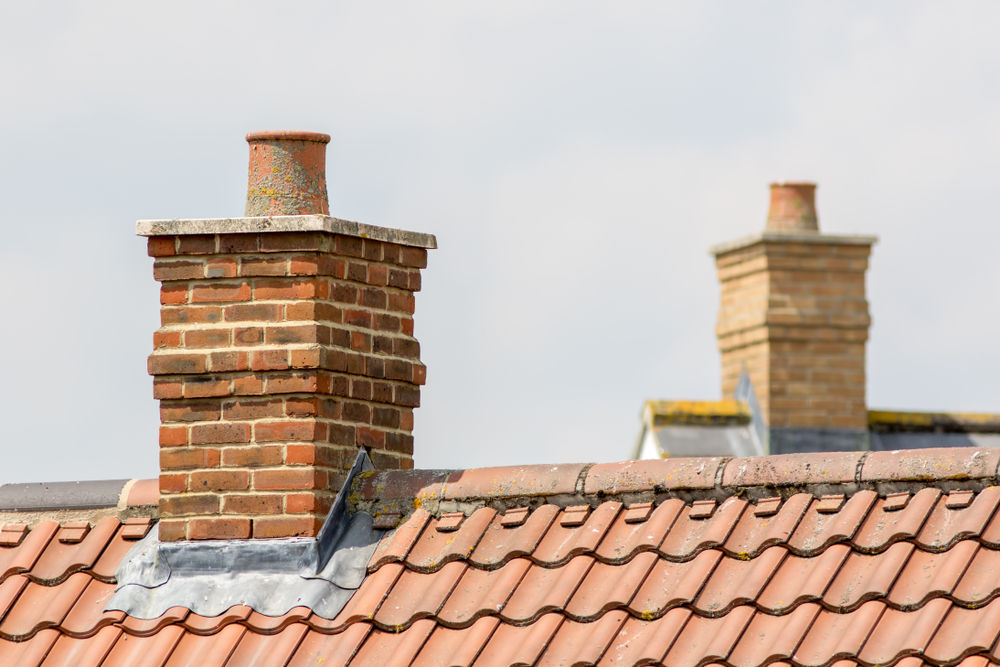
In older construction, flues were usually made from clay or concrete formed into a tube. If your home is older, you can often see flue pipe (usually red or brown colored stone) at the top of a masonry chimney.
In modern construction, flues are usually made from metal and connected together to form the tube shape. The chimney surrounds the flue from beginning to end and will include an air space between the two to prevent the chimney from overheating.
What Insulation To Use For a Chimney?
Several insulation materials work very well around chimneys. If the chimney is being used, you’ll want to seal the damper and any other air gaps with a firestop caulk, like this one. You should also install and maintain a chimney cap, which prevents rainwater from entering the chimney from above.
Option 1. Ceramic Insulation
Ceramic insulation is made from aluminum oxide and other materials very resistant to both heat and cold. Ceramic insulation has an extremely high ignition point, so it is commonly used as a welding blanket or in other high-temperature environments that might produce a flame or spark.
Ceramic insulation is available as a batt, blanket, and spray foam. Ceramic insulation does a great job of insulating a chimney, but may be overkill since chimneys do not usually reach extremely high temperatures.
Pros:
- Ceramic insulation can be used in environments reaching upwards of 2,000 degrees Fahrenheit.
- Ceramic insulation is lightweight and relatively easy to work with.
Cons:
- Ceramic insulation is more expensive than fiberglass insulation
- Safety gear is required when installing ceramic insulation, such as skin, eye, and lung protection
Option 2. Fiberglass Insulation
In most instances, fiberglass insulation is the least expensive, most effective, and easiest insulation to install by a DIYer. Fiberglass insulation is very effective chimney insulation because it is malleable, can be installed to any R-value, and has a high melting point.
Pros:
- Inexpensive and easy to install
- Very flexible and can be stacked for additional R-value
- Includes fire retardant properties
Cons:
- Requires protection in living areas
- Can produce airborne irritants
- Often includes a vapor barrier that must be removed if attached directly to the chimney
Option 3 – Rock Wool (Mineral Wool)
Rock wool (also known as mineral wool) is made from volcanic rock formed into fibers. Rock wool is very effective as insulation and essentially impervious to heat. Rock wool is very long-lasting and durable, but not as easy to install as fiberglass or ceramic insulation.
Pros:
- Very durable and resistant to moisture
- Has many uses, including sound deadening
- Can be stacked for additional R-value
Cons:
- Rock wool does not always include a vapor barrier, if one is needed
- Expensive compared to fiberglass
Option 4 – Closed Cell Spray Foam Insulation
Closed cell spray foam insulation is a relatively new form of insulation and does a great job of stopping air leaks. Closed cell spray foam includes fire-retardant chemicals and will stick to nearly any surface. Closed cell spray foam is fast to install and can be stacked for additional R-value.
Pros:
- Will stick to most surfaces, so no mechanical fasteners are required
- Expands slightly to fill tiny gaps, reducing air leaks
- Offers the fastest installation method
Cons:
- Usually the most expensive insulation option
- Must be professionally installed, so not good for DIYers
Option 5 – Chimney Liner
Chimney liners are usually used for wood, coal, and pellet-burning fireplaces and stoves to prevent a surrounding brick chimney from overheating. Most modern homes use natural gas or oil, which burn at a lower temperature than wood or coal and do not usually require a chimney liner.
However, because wood and coal burn at higher temperatures than natural gas or oil, both create a substance called creosote, which collects on the inside of the chimney. If allowed to build up, creosote can be ignited and catch the chimney on fire. Chimney liners help keep the heat inside the flue, incinerating most of the creosote.
Chimney liners are installed inside the chimney and prevent the heat from transferring from the flue to the surrounding brick. Chimney liners allow combustible materials to touch the outside of the brick without igniting.
Option 5 – Expanded Perlite
Perlite is made from volcanic stone formed into pellets (for loose fill insulation) or formed into panels with other materials. Perlite is a great choice for chimney insulation by the do-it-yourselfer. Perlite is easy to work with and can be blown in or installed as a sheet.
How To Insulate Your Chimney
In this example, we will assume your chimney is wood framed and located inside the home. A masonry chimney located outdoors or passing through each floor will be discussed as well.
Option 1. Wood Framed Chimney
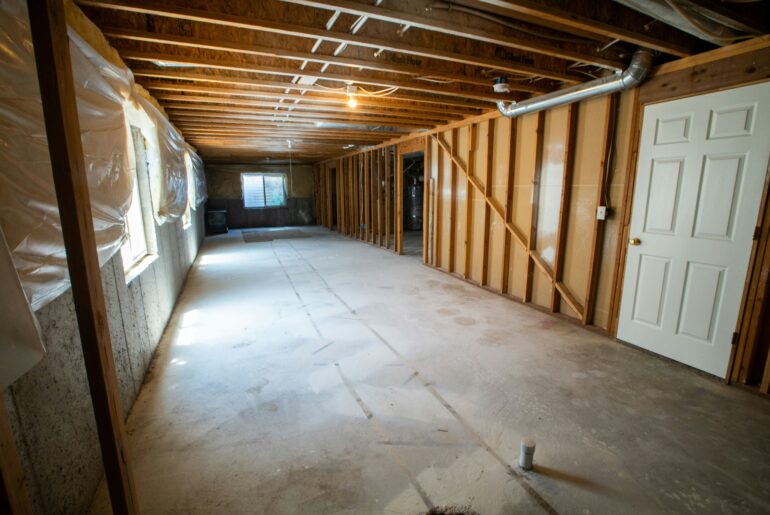
You will need access to three sides of the chimney to effectively insulate it. Generally, most builders will pre-insulate a wood framed gas or oil chimney, but if yours isn’t insulated, you can gain access by either removing the drywall or adding a fake wall just for insulation.
What Tools Will I Need?
In most cases, you can get by with simple hand tools you may already own. These include:
- Tape Measure
- Hammer
- Utility Knife
- Carpenter’s Square
- Level
- Saw
- Staple gun
- Pry Bar
Method 1. Removing the Drywall
If you find it is easier to remove the drywall from the existing chimney framing than to build a new wall, you can install either ceramic insulation, fiberglass insulation, firerock, or rock wool to the studs.
After the drywall is removed, attach the insulation directly to the framing using the mounting tabs on the batts. If you are using roll fiberglass or rock wool without a vapor barrier, just staple the insulation to the inside of each stud, facing the chimney. Firerock can be either stapled or taped to the studs, whichever is easier.
Remember not to install the insulation on the side facing away from the chimney, as this will make reinstalling the drywall very difficult.
Special Safety Note Regarding Clearance
Most building codes require that there must be at least 8” between the wood framing and the chimney to prevent the framing from getting too hot. You can reduce this space to 4” if a chimney liner is installed between the chimney and the flue.
Method 2. Build a Fake Wall
A more common approach requires no demolition and offers additional insulation. You can simply build a new stud wall around the old chimney and install the insulation there. This method utilizes the existing drywall, as it adds both insulation and additional fire retardant.
Building a fake wall will also not disturb the existing framing, so you don’t have to worry about weight-bearing walls. The fake wall will only have to support its own weight, but you will still want to build it at least 24” wide so that it spans at least two floor joists or trusses.
If your one-level home is on a concrete pad, this step is not necessary.
- If Your Chimney Has a Liner
If your chimney has a liner, build the fake wall at least 8” wider and 4” deeper (inside measurement) than the chimney. This will establish a minimum 4” air space on the front and both sides between the fake wall and the chimney.
- If Your Chimney Does Not Have a Liner
If your chimney does not include a liner you must enlarge the fake wall to increase the air space. In this case, build the fake wall 16” wider and 8” deeper than the chimney. This doubles the air gap between the chimney and the fake wall to absorb any additional heat.
Using this method will require a few more materials and some carpentry. If you are not confident in your skills, hire a carpenter to build the wall. You can add the insulation yourself before the drywall is installed. Just ensure that any facing (vapor barrier) points towards the room, not the chimney.
Option 2. Insulating a Masonry Chimney
If your chimney is built from masonry like bricks, blocks, or stacked stone you can use insulation made just for chimneys. Usually sold as “Fire Rock” insulation, this material is typically rockwool (perlite/mineral wool) insulation formed into a sheet with an aluminum backing.
Firerock is easy to work with and comes in 25mm thick panels. Firerock is usually taped into place with high heat foil tape, but mechanical fasteners may be used. Firerock helps reduce condensation on the outside of the chimney, helping to keep the heat inside the chimney.
Method 1. Cut the Firerock to Size
Start at the bottom of the chimney and cut your firerock so as to have the fewest seams between the panels. Also try to avoid gaps between the panels, as any gaps or spaces must be taped over.
If the chimney rises from the crawlspace or footing through a floor, seal the gap with fire retardant sealant.
If the insulating is done in a crawlspace or attic as well, you can leave the insulation exposed like the other insulation already present. However, if the chimney passes through living space, you will need to protect it using drywall (like building a fake wall), or other materials to prevent the fibers from becoming airborne.
Can I Insulate My Chimney Liner?
You can insulate your chimney liner if it isn’t already. Insulating your chimney liner will create more heat inside the flue and help prevent the buildup of creosote and condensation. Often sold in kits, chimney liner insulation is usually assembled in sections and slipped onto the liner.


