Knee walls can sometimes get overlooked or left behind when you are running a retrofit renovation project. Are they part of the thermal envelope, or does the space behind them need to be conditioned?
Unless you require regular access to storage or services behind a knee wall it is usually sensible to include them as part of the thermal envelope of a renovation, however, you need to ensure that insulation is continuous from the rafters to the attic floor.
In a new build project it is usually more convenient to insulate the rafters before the construction of any knee walls.
Here’s what to do whichever stage you are at in your renovation project.
1. Do You Need to Condition the Space?
If there is a door in your knee-wall giving access for storage, then you have the choice of insulating your knee-wall or the rafters. How do you choose what to do?
Yes, I Need to Condition the Space
Space is limited behind a knee wall, but if you are going to use it for frequently accessed storage, or if there are services running through the space which will require maintenance then conditioning this area would be the preferred option.
Insulating the rafters will bring the knee wall within the thermal envelope of the building. If you are replacing the roof covering, then the best way to insulate this area would be on the outer side of the roof sheathing.
If shingle or tile replacement is not going to be part of the renovation then closed cell spray foam is a good, high R-value option.
No, I Do Not Need to Condition the Space
If access is infrequent, limited to once or twice a year, it would save time, money, and resources to simply insulate the knee wall. When doing so make certain that the insulation is continuous in that it meets up with the rafter insulation at the roof line, and that it extends below floor level to meet the insulation between the joists on top of the ceiling below.
Oftentimes the ceiling and knee wall have been insulated but cold air still gets in between the floorboards in the attic room because the insulation, or the air barrier in the space between the joists at the bottom of the knee wall has failed (or didn’t exist in the first place).
2. The Spray Foam Option
Spray foam is one of the most expensive insulation products out there, but some say you get what you pay for. In the case of knee wall insulation, where you have door access, it is an ideal product to use.
Installation is fast, and it will seal up all of those tiny air leaks around the drywall and the electrical boxes. Just make sure you have adequate ventilation for the area, and that you are wearing appropriate PPE for the work.
Spray foam is a good choice because you won’t need to fit an additional air barrier. It will do the job for you if sprayed continuously across the entire framing of the knee wall.
You should be aiming to hit R-20 on a knee wall, and you can do that with just three inches of spray foam, which will maximize the available storage area in what is already a tight space.
3. The Foam Board Option
Foam board is a great choice for when you have to create access to get in behind the knee wall as you can build yourself out of the space knowing that you have sealed it up soundly. Armed with silicone sealant and a couple of cans of low-rise spray foam, it shouldn’t take too long to make a good job of retrofitting your knee wall.
We go into detail regarding insulating with rigid foam in this article.
4. The Mineral Wool Batt Option
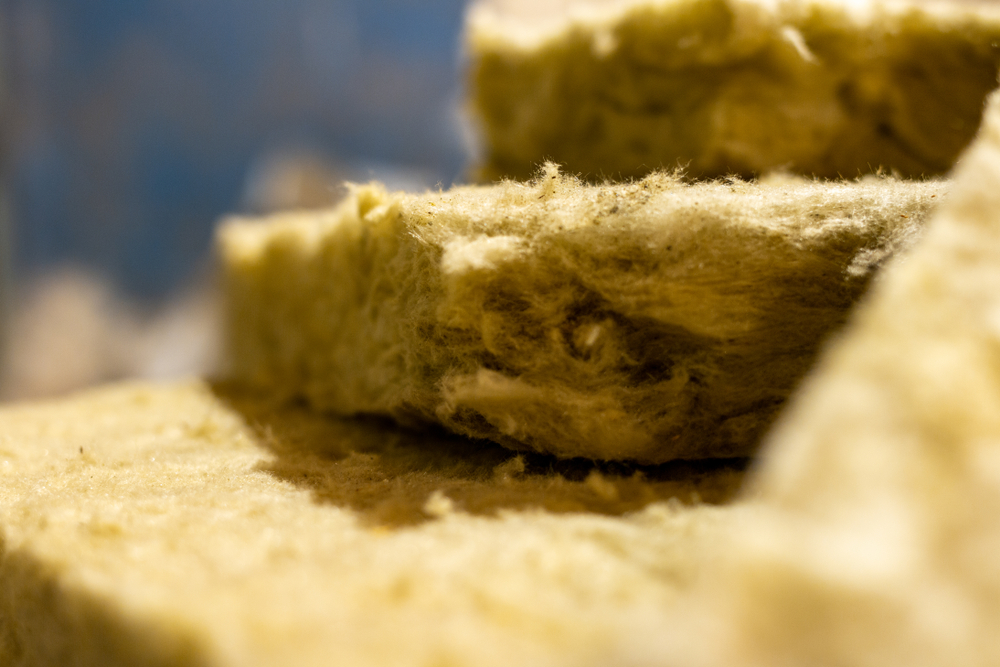
Mineral wool is a good friction-fit solution to insulating a knee wall, however, sometimes the structure of a knee wall won’t be deep enough to support the thickness of batt that you would need to achieve an effective, or compliant R-value.
If this is the case, perhaps consider adding timber to the framing to get to the required depth. As an alternative, mineral wool could be installed continuously across the back of the stud wall, as you might fit it to exterior sheathing below the siding on the exterior of a house.
This is all well and good when you have access via a door, but it could prove harder to do without a hatch or other access into the space. Also, mineral wool, or fiberglass batts, will require a continuous air barrier between it and the back of the drywall.
5. The Access Options
Which brings us neatly on to access to the space behind the knee wall. The chances are that in an older property access will be via a timber door, or a lightweight modern internal door. Neither are highly rated for insulation purposes so consideration should be given to replacing them with either an insulated door or a proprietary hatch.
Depending upon the regularity of access required there are several options available.
Fakro USA makes three knee wall access doors with R-values from 5.2 to 9.5, including a fire-rated door that is designed to give 45 minutes of protection. All three doors come hinged and have door handles ready-fitted.
The Sealin Hatch uses R-19 fiber insulation and is designed for very occasional use. Access is via four screws, which is perfect if all you require is inspection access.
If you can’t stretch to a purpose-made door, then the next best thing to do is to ensure that the existing access is as draught-free as possible. Fitting draught-proof weatherstrips to the door stops, and applying foam board to the back of the door will all help minimize heat loss.
6. When Size Decides Your Options
What do you do if you cannot physically get into the space behind the knee wall? If the knee wall is just eighteen inches, or perhaps two feet in height, or what if it’s lower, then what do you do?
If you can get your skinny friend to squeeze in and staple a membrane to the back of the rafters, it has been known to install cellulose fiber into the triangular space between knee-wall roof and floor..
A better alternative might be spray foam, but neither method would be a one-person job because of the tight nature of the space. It’s certainly not a proposition for the claustrophobic amongst us.
The best solution could be to strip the face of the knee wall and insulate it from the front before building out. If this is not possible, for whatever reason, then applying insulation to the face of the drywall or overboarding it with insulation-backed drywall should be considered.

