The Environmental Protection Agency estimates that the average home loses up to 30% of its heating and cooling through air leaks in the building envelope. Hot air rises. Seal your attic.
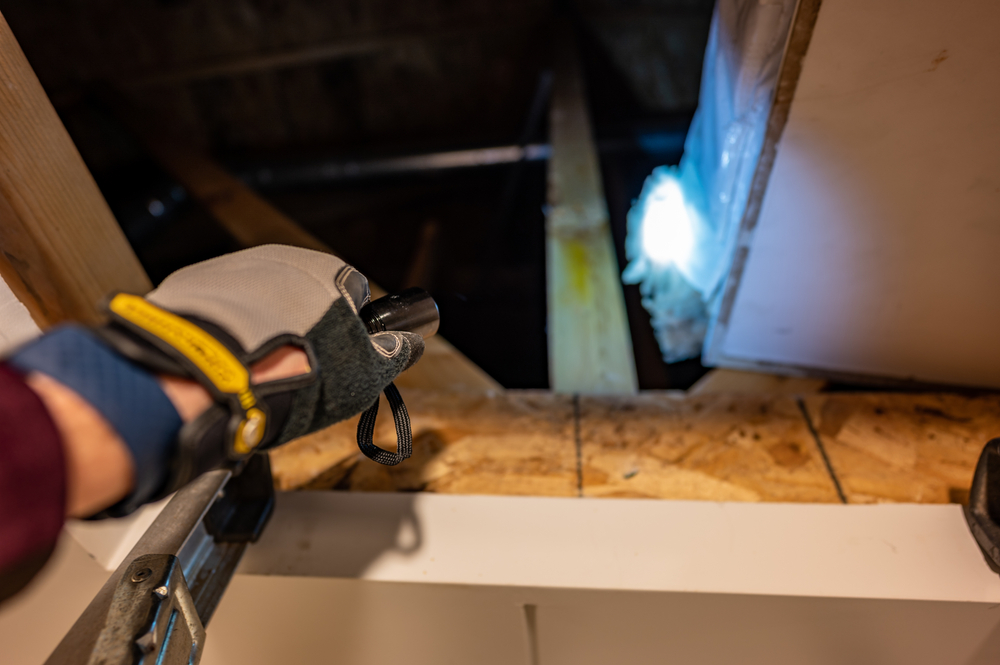
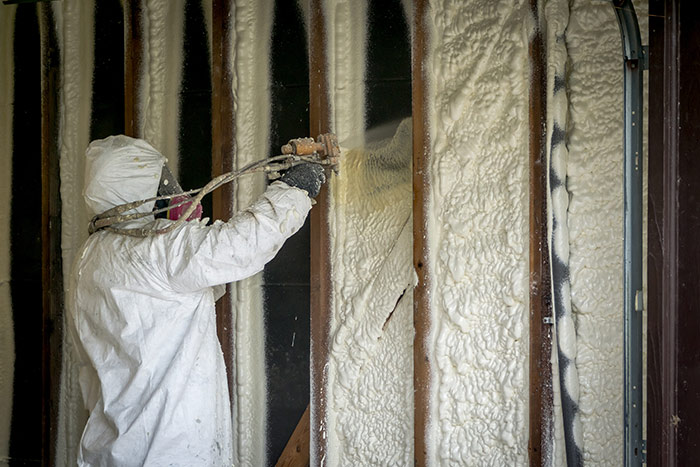
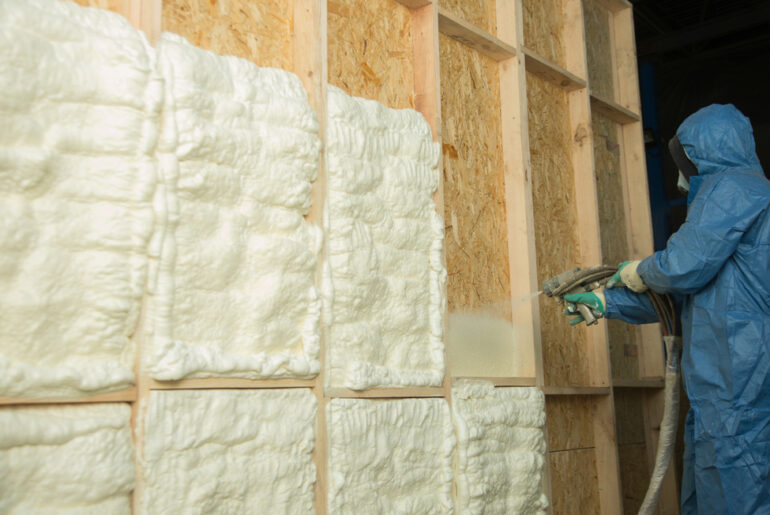
Spray foam is an excellent option for sealing penetrations through the ceiling into your attic. The ones you can see: lights, fans, and access hatch. The ones you cannot see: plumbing, electrical, and framing gaps.
Not only does spray foam expand quickly to fill the gaps, it is quick and easy to use. No one wants to be crawling around in an attic any longer than necessary.
Our suggestions will help you achieve a good seal–and get out quick.
Why Sealing Air Leaks Is Crucial
Depending on the age and type of construction, your ceiling could have up to 2 square feet of unsealed gaps. You can lose between $100.00 and $200.00 of heat and/or cooling every year. In cold climates, you might even get attic rain. Or mold. Or rot. Or bugs.
Why Do I Have to Seal Attic Penetrations?
Today’s building codes require that all penetrations into attics are sealed during construction. Older houses were not built to these codes. Some of the unsealed penetrations you may run into include:
- Electrical holes can be drilled from ½” to 1” in diameter (¾” seems to satisfy both electricians and inspectors).
- No plumber ever drilled a 2” hole for a 2” pipe. Invariably the hole is bigger.
- Bathroom vents are supposed to be sealed properly. Older fans, and those installed after construction may not be.
- Older construction did not use poly vapor barrier boots around electrical boxes–because they did not exist.
- Framing around the attic hatch can shrink, twist, and separate.
- You may also find gaps in chimney framing and other DIY projects such as wood stove chimneys.
What Spray Foam to Use
The most effective, efficient, and inexpensive sealant is polyurethane spray foam in a small can.
Is Spray Foam a Good Option at All?
Yes, it is. Probably the best option. Spray foam:
- Expands. Expands to easily fill holes and gaps up to one inch.
- Portable. Small 12 oz cans.
- Easy to Use. Smart Straw applicator or screw on gun applicator.
- R – Value. Closed cell up to R-5 per inch.
- Flexible. Will not lose adhesion to surrounding materials.
- Temperature Versatility. Can be applied from 14 degrees F to 100 degrees F
- Tack Time. Tack free in 5 – 15 minutes.
What Spray Foam (type) to Use
The preceding list covers many types of spray foam insulation, but is specific to window and door foam.
How Much Spray Foam Do You Need?
One spray can will probably be enough if you are dealing with small leaks. Given ideal conditions, the contents of one can produces approximately 150 – 160 cubic inches of foam.
Large areas usually require different treatment.
Can you DIY seal air leaks?
Yes, you can. Before you commit to doing the job yourself you might want to consider a few things:
- Claustrophobic. Many attics are, or contain small confined spaces. You are likely to be up there for the better part of a day.
- Allergic. Many attics are insulated with cellulose, fiberglass, rockwool, vermiculite, spider webs, and dust, among other things. Some products–like vermiculite–may even contain asbestos. You are going to have to remove and replace the insulation to get access to penetrations and chimneys.
- Flexible. Most attics contain small tight spaces to work in and 1 ½” trusses or joists to kneel on while working.
If you have some of these concerns, or others, you may want to call a professional insulation contractor. Local, state, or federal laws may require licensed professionals to deal with asbestos.
How to Seal Air Leaks With Spray Foam
Almost all air leaks into the attic will have to be sealed from inside the attic. Most of them are not accessible from below because they are buried inside finished walls. You will need to seal:
- Plumbing Penetrations.
- Electrical Penetrations.
- Fan Penetrations.
- Chimneys.
- Light Fixtures.
Required tools
You do not need much for tools to do a good job.
- Foam. Quite often one can will be enough.
- Light. 100 watt minimum to light the entire attic space.
- Rake. Depending on the type of insulation. Digging through 17” of cellulose by hand is annoying. (Note: You may want to cut the handle down to about 2’ long.)
- Ladder. To get into and out of the attic.
- Tape Measure. Not essential but very handy to help find light boxes.
Safety Tips
- Wear a Mask. N95 or a respirator. The older the insulation, the better chance of inhaling dust, borax, fiberglass particles, asbestos, and stuff science has forgotten.
- Wear Goggles. Getting any of those particles in your eyes is not healthy.
- Knee Pads. You will be spending a lot of time kneeling on narrow trusses.
- Hard Hat. The underside of roofing nails are very sharp.
- Hazmat Coveralls. You should be able to buy coveralls for less than $20.00.
Preparation
Draw up a rough ceiling plan of your house. Mark any ceiling fixtures and note measurements from side or end walls to make locating electrical boxes easier when you are in the attic.
Dress in tight-fitting clothes and your coveralls. Getting older fiberglass next to your skin is no fun. You will itch. Work boots, not shoes. Snug leather gloves allow you to get a good grip on foam, framing and rake.
Spread a drop sheet under your ladder and the attic access. There is no way to avoid dropping loose-fill insulation out of the opening, or having it cling to your clothes.
Process
Pick a cool day, or plan to work in the mornings. (Attic temperatures can reach over 130 degrees F.)
Once you are in the attic, head for the farthest corner. Start there. Pull back the insulation from around any penetrations. Clean around the opening and fill it with foam. Watching foam dry is not very productive, so move on to the next one. Then the next one.
Until you think the first bit of foam has skinned over. Go back and replace the insulation in the same order. Repeat with the next 4 or 5 penetrations. Work your way back to the attic access. Make sure the insulation is back in place and not packed down.
One pass of foam should seal anything up to an inch. For any bigger openings you may need to stuff some backing into the gap first.
On your way out of the attic, usually while standing on the ladder, make sure you foam the framing members around the hatch. Not where the hatch cover sits.
Call a Professional
Hiring a professional insulator to do the job will cost approximately $600.00 to $2500.00 depending on size of house and complexity. Try to get three quotes before making your decision.
A professional insulator can also do a pressure test in your house to spot air leaks, not only in the attic, but in the entire building envelope.
Are There Alternatives To Spray Foam?
A few other products to consider for draft blocking include:
- Acoustic Caulking. Excellent product. Never dries–allowing insulation to stick to it.
- Silicone Caulking. Takes a long time to skin over. Does not adhere well if dust or moisture is present.
- Regular Caulking. Does a good job on gaps smaller than ¼”. Some products skin over within one minute.
- Tape. Works, but difficult to apply.
- More Insulation. Most insulation will allow air to pass through regardless of thickness.


